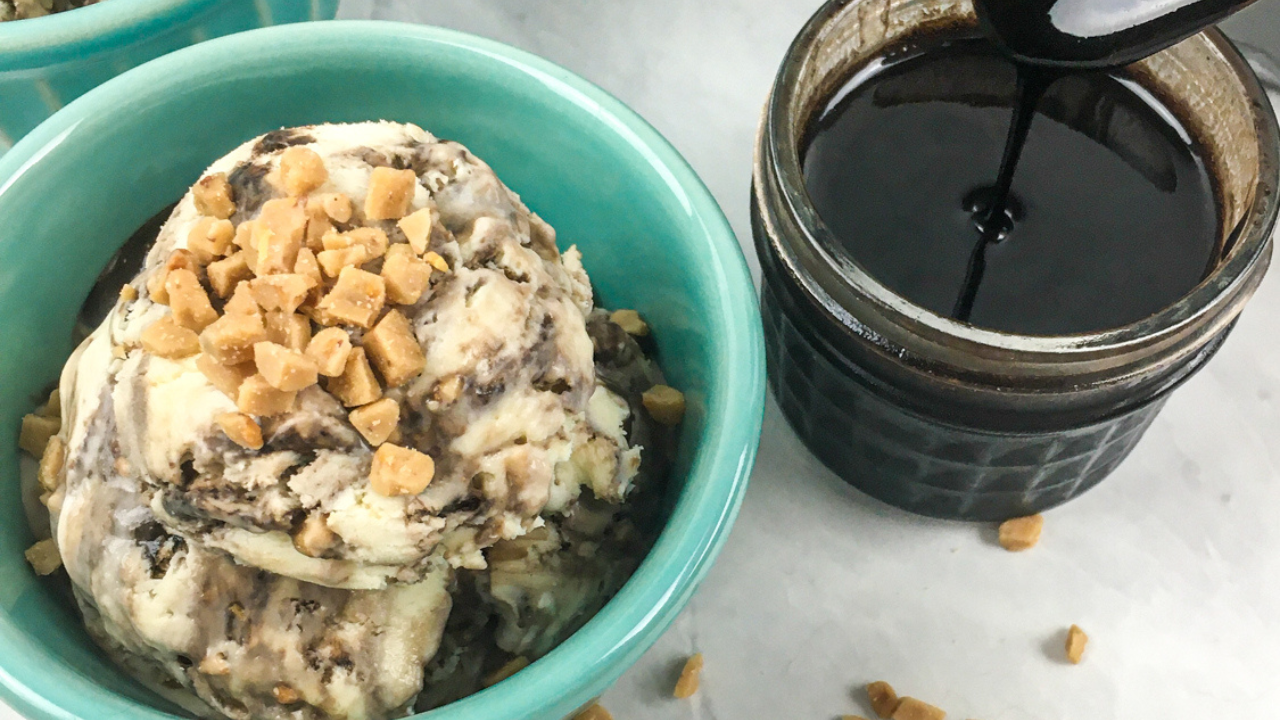
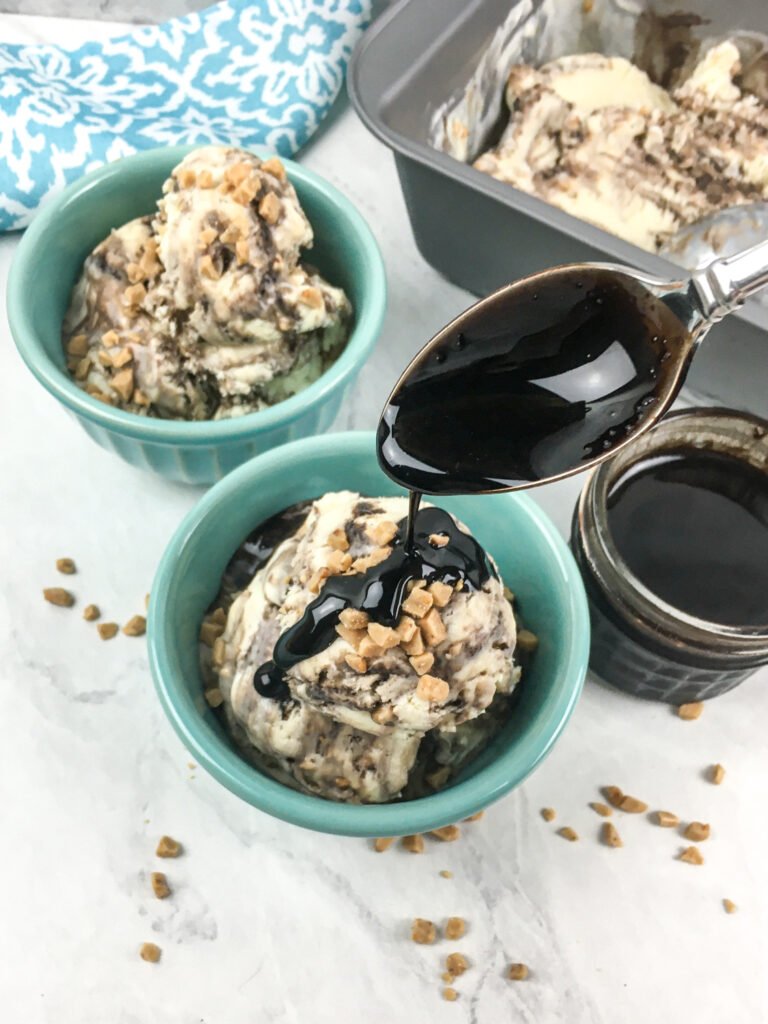
This easy no-churn toffee chocolate ice cream delivers rich chocolate flavor, buttery crunch, and a creamy texture—no machine needed. Made with whipped cream and sweetened condensed milk, it freezes smoothly without churning. It’s a reliable make-ahead dessert for warm weather, casual gatherings, or anytime you want minimal-effort homemade ice cream.
Ingredients Overview
This recipe relies on a short, intentional ingredient list. Each component plays a specific role in texture, sweetness, and balance, especially in no-churn ice cream, where structure comes from technique rather than a machine.
- Heavy cream
Whipped to soft peaks, the cream creates volume and gives the ice cream its light, scoopable structure once frozen. - Sweetened condensed milk
Provides both sweetness and body. Its high sugar content helps prevent the ice cream from freezing solid, keeping the texture smooth. - Vanilla extract
Rounds out the chocolate and toffee flavors and adds warmth without overpowering the base. - Homemade chocolate syrup (fully chilled)
Adds deep cocoa flavor and creates distinct ribbons throughout the ice cream. Chilling is essential to preserve the whipped structure. - Heath English toffee bits
Bring crunch and buttery caramel notes that contrast the creamy base and chocolate swirls.
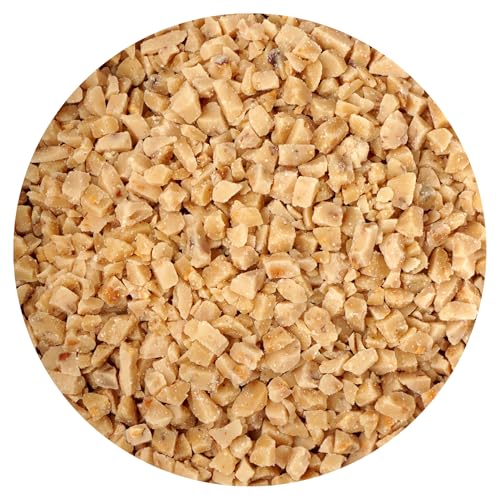
- Add a touch of indulgent toffee to your desserts with these perfectly sized, flavorful bits.
- 1 POUND BULK BAG: Enjoy this 1 pound bulk bag of delicious and fresh toffee bits.
- Versatile toffee bits, ideal for topping ice cream, baking into cookies, or adding to your favorite recipes.
Refer to the recipe card for the full ingredient list and exact measurements.
Tools You’ll Need
Having the right tools on hand keeps the process smooth and helps maintain the light texture that makes no-churn ice cream work. Nothing here is specialized—just a few reliable kitchen basics used with intention.
Essential tools
- Mixing bowls
Use at least two: one for whipping the cream and another for combining the condensed milk and vanilla. Extra space makes folding easier and prevents the mixture from deflating. - Hand mixer
Necessary for whipping the cream to a light, airy consistency. This step replaces the aeration normally created by an ice cream machine. - Whisk
Used to prepare the chocolate syrup and ensure the cocoa powder fully dissolves without lumps. - Spatula
Essential for gently folding the whipped cream into the base. A flexible spatula helps preserve volume while fully incorporating the mixture. - Sauté pan
Used to quickly and evenly cook the chocolate syrup. A small pan works best for controlled heat. - 9” x 5” loaf pan
The ideal shape for layering, swirling, and freezing no-churn ice cream evenly. - Airtight container or plastic wrap
Prevents ice crystals and freezer odors. Plastic wrap should be pressed directly against the surface for the best texture.


Optional tools
- Ice cream scoop
Not required, but helpful for clean, even servings once the ice cream has softened slightly.
These tools ensure consistency and texture, which matter most when making ice cream without a machine.
No-Churn Chocolate Ice Cream
What’s Inside
Kitchen Tools
Step-by-Step Instructions
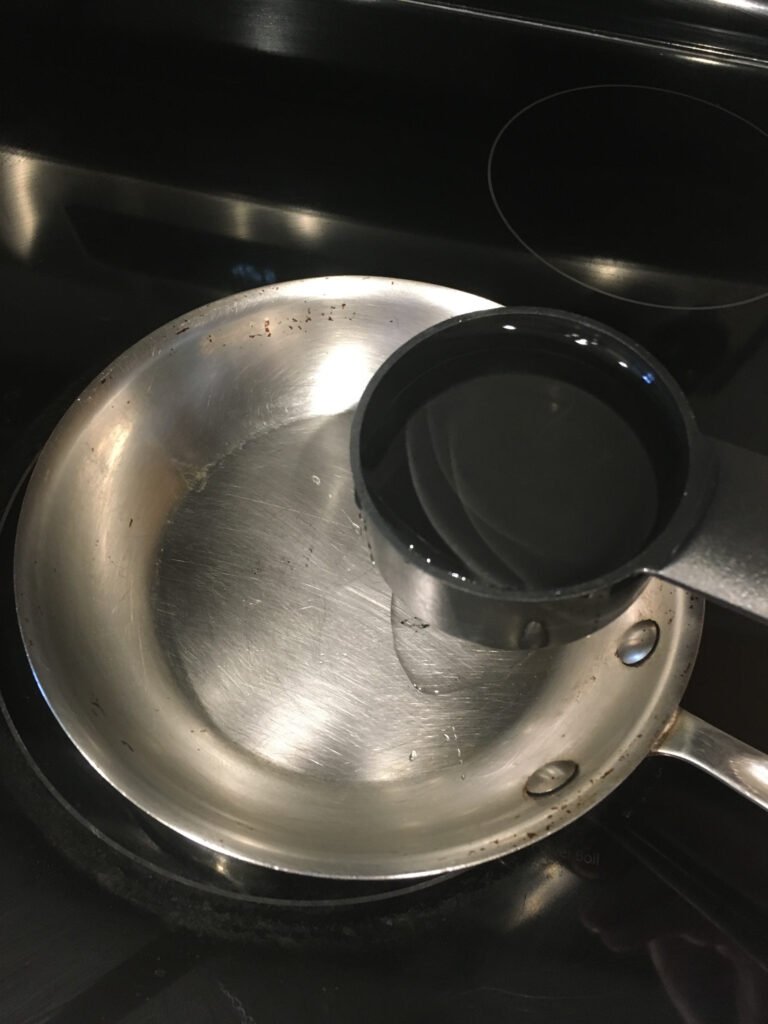
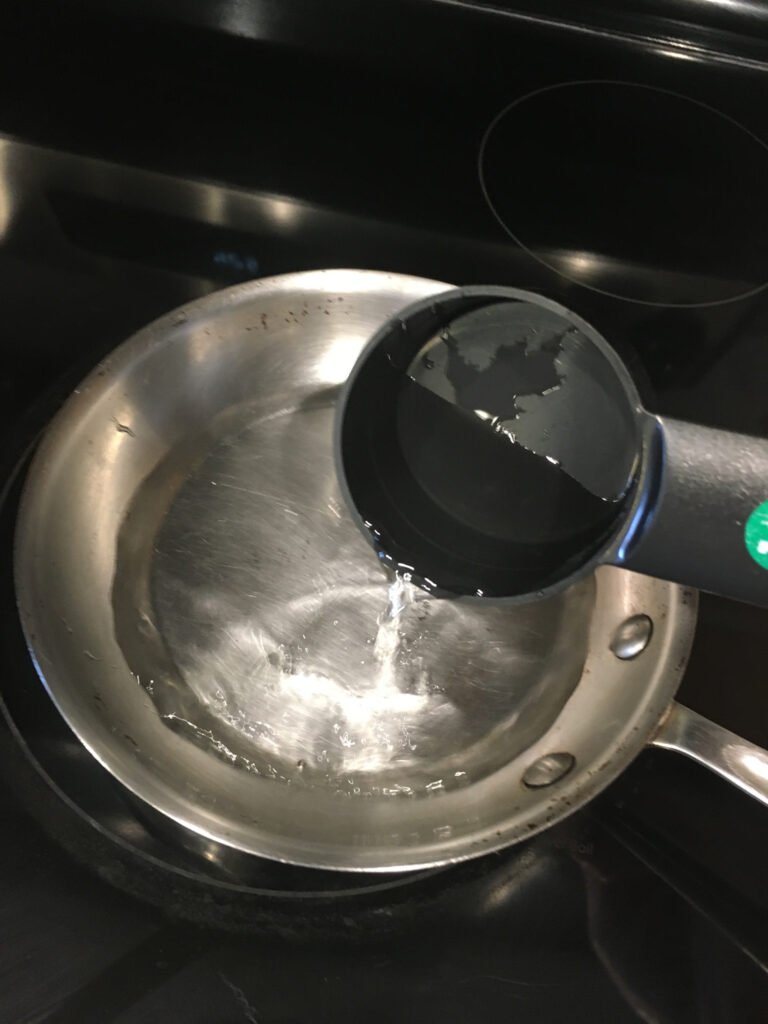
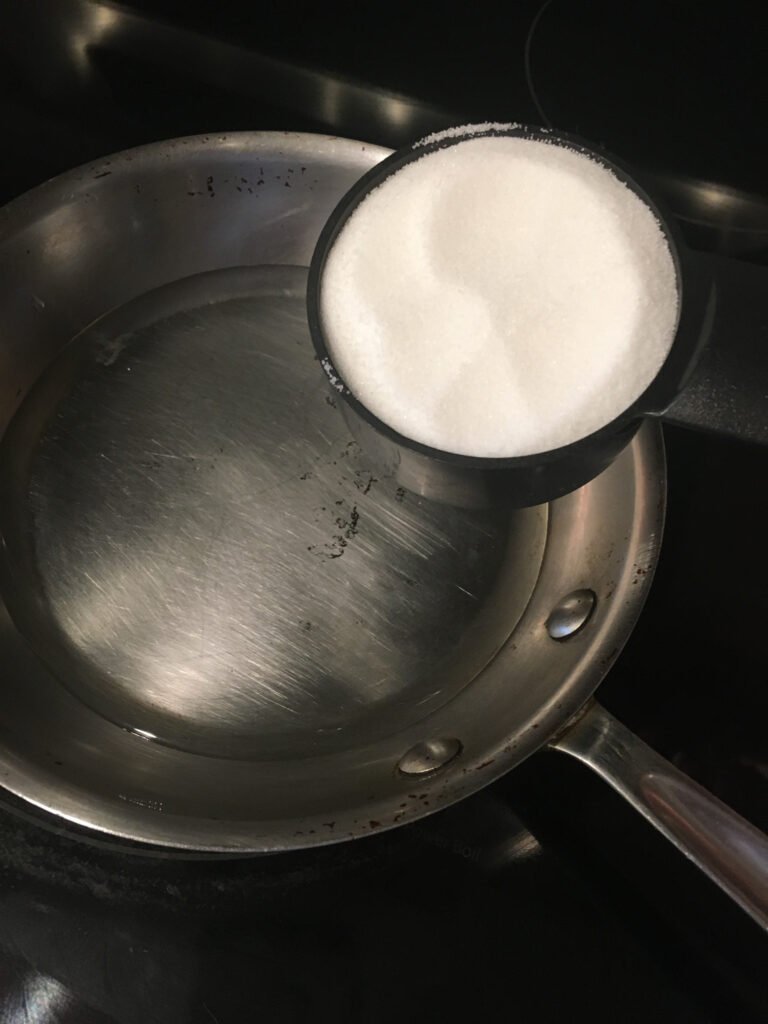
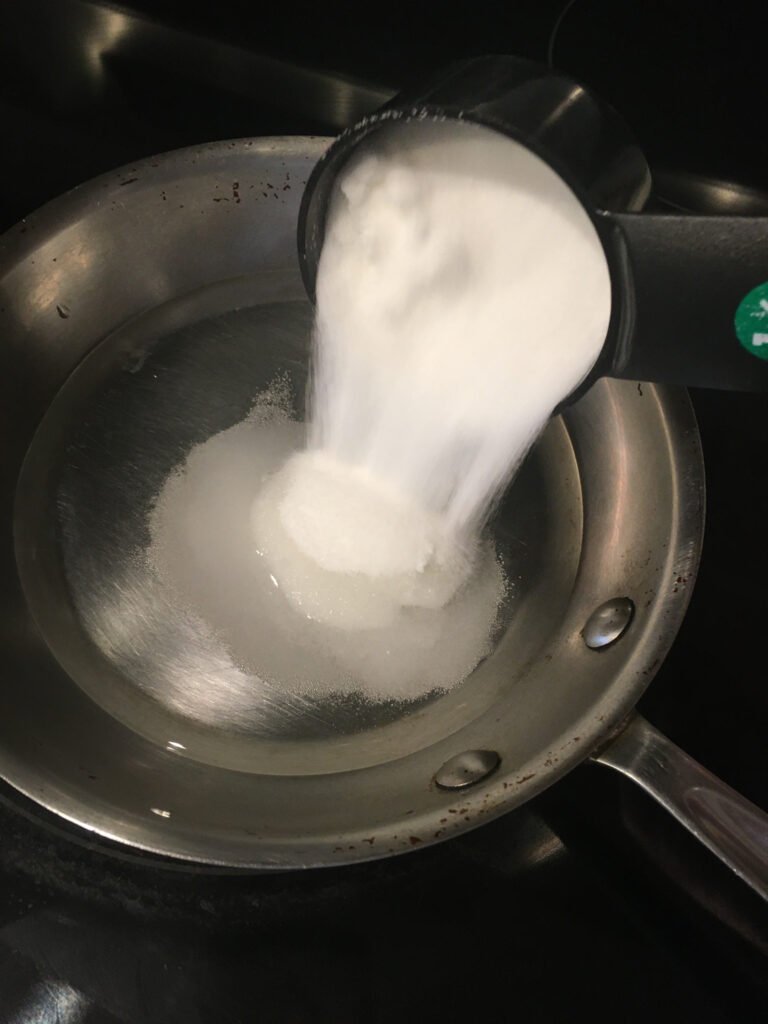
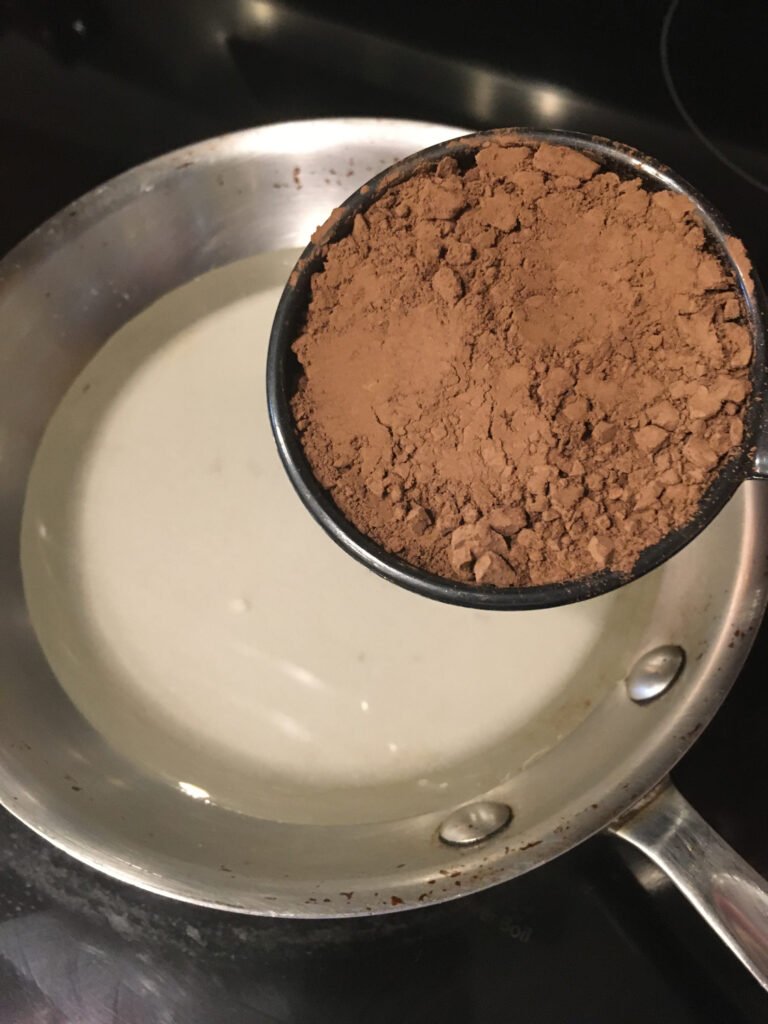
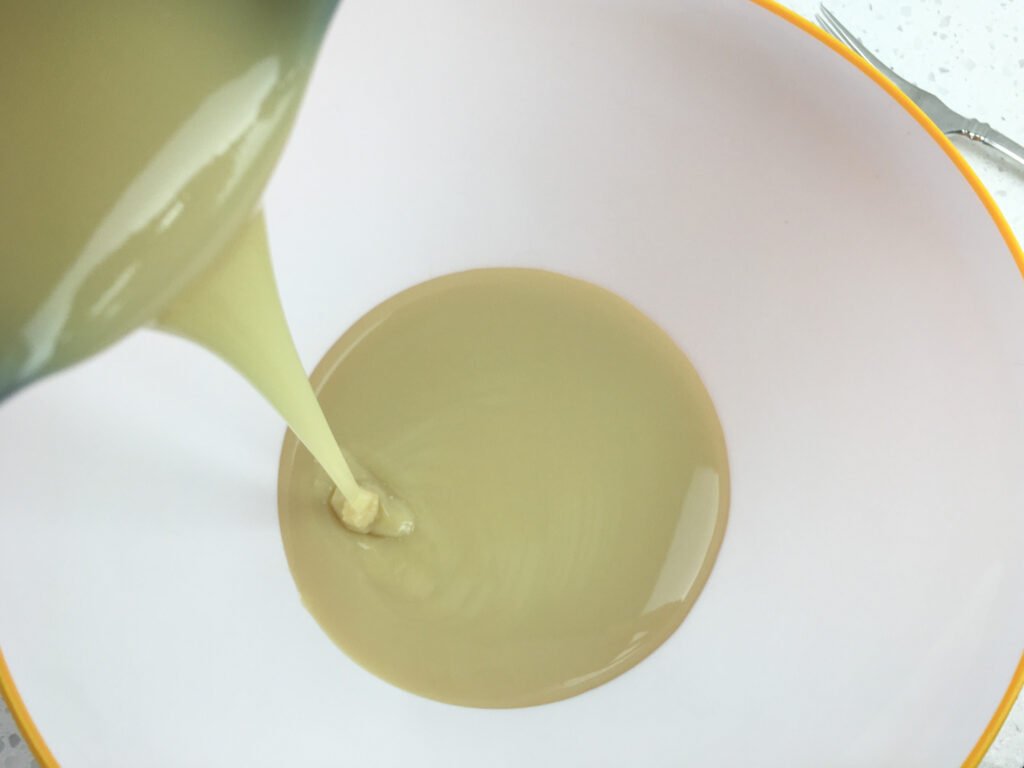
- To prepare the chocolate syrup, combine the water, sugar, cocoa powder, vanilla extract, and salt in a small skillet set over medium heat.
- Whisk vigorously until the sugar dissolves and the cocoa powder is thoroughly incorporated, about 2-3 minutes.
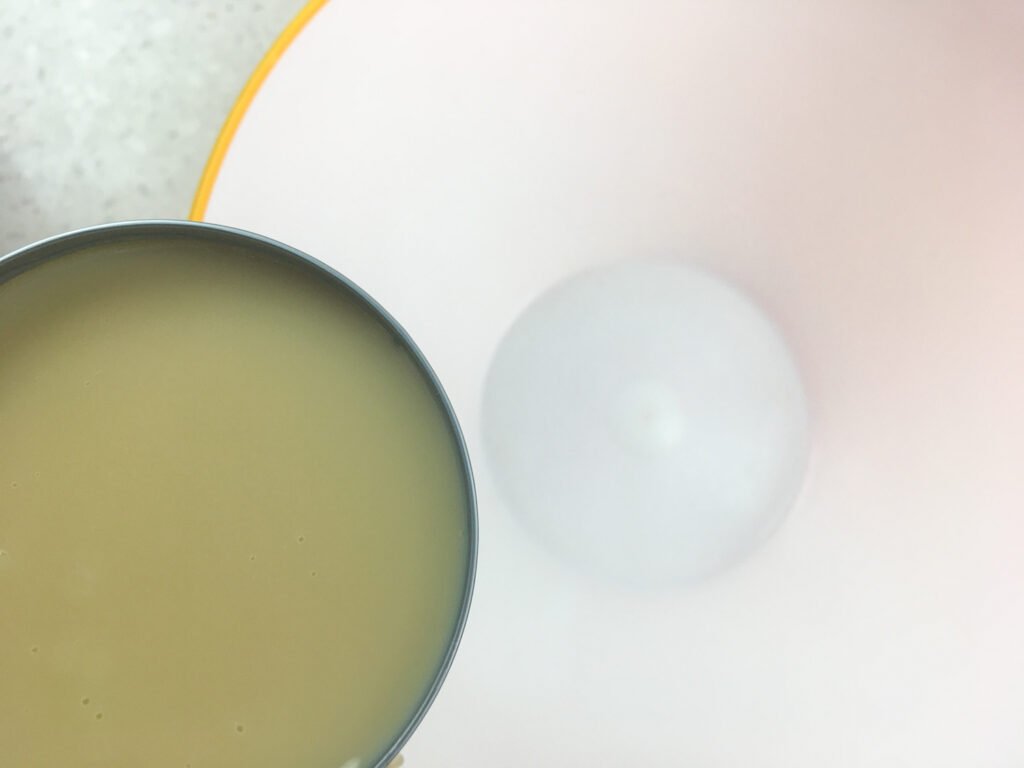
- Remove from heat and cool completely. Cover and refrigerate in an airtight container until ready to use.
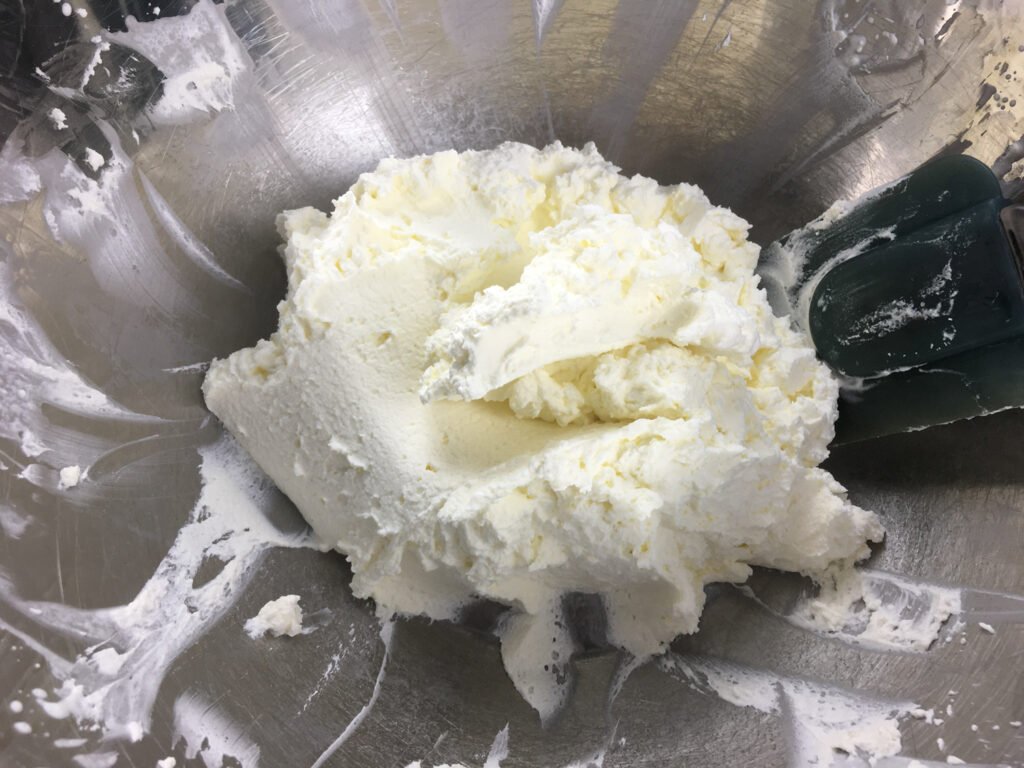
- Pour heavy whipping cream into a large mixing bowl and beat on high until light and fluffy.
- Use a spatula to scrape the sides of the bowl as you mix, ensuring all the heavy cream is whipped.
- Set aside.
- Pour sweetened condensed milk and vanilla extract into a large bowl and stir to combine.
- Lighten the condensed milk by gently folding a small amount of the whipped cream into the bowl.
- Do not overmix. Add the remaining whipped cream and fold it into the mixture until thoroughly combined.
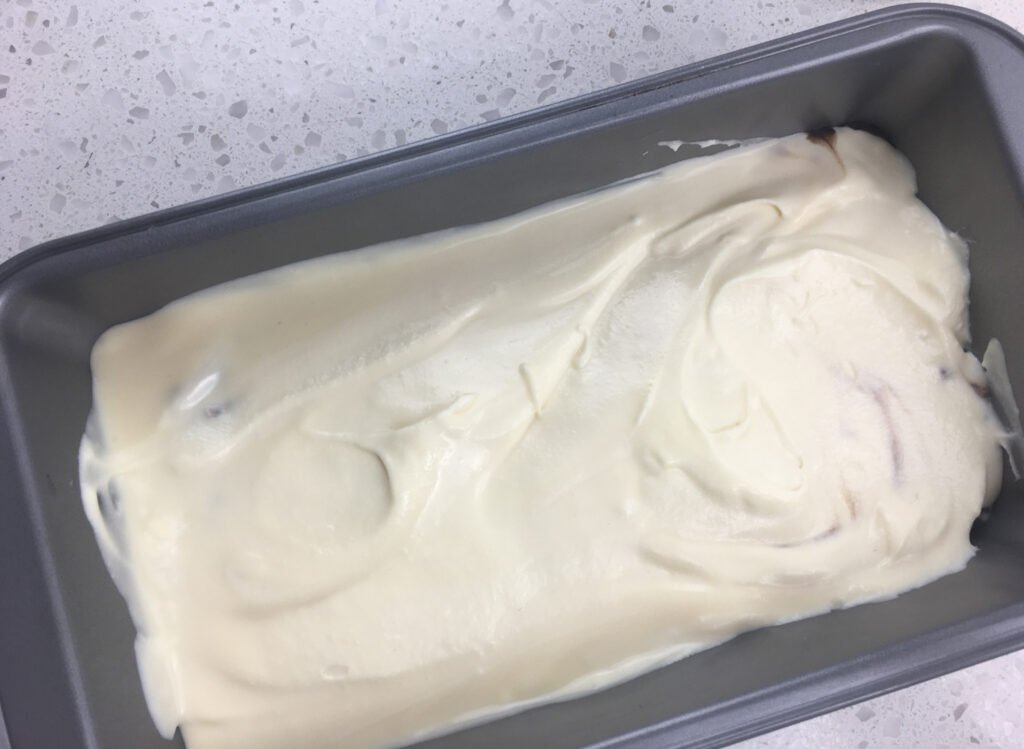
- Pour half the whipped cream mixture into a 9”x5” loaf pan and spread into an even layer.
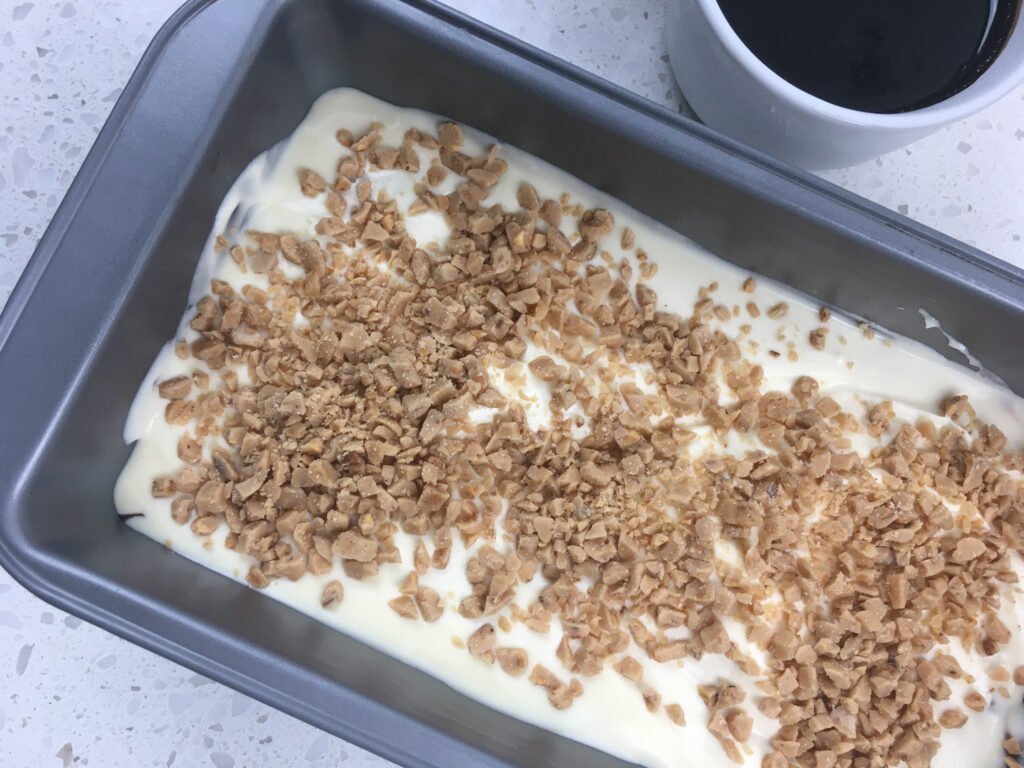
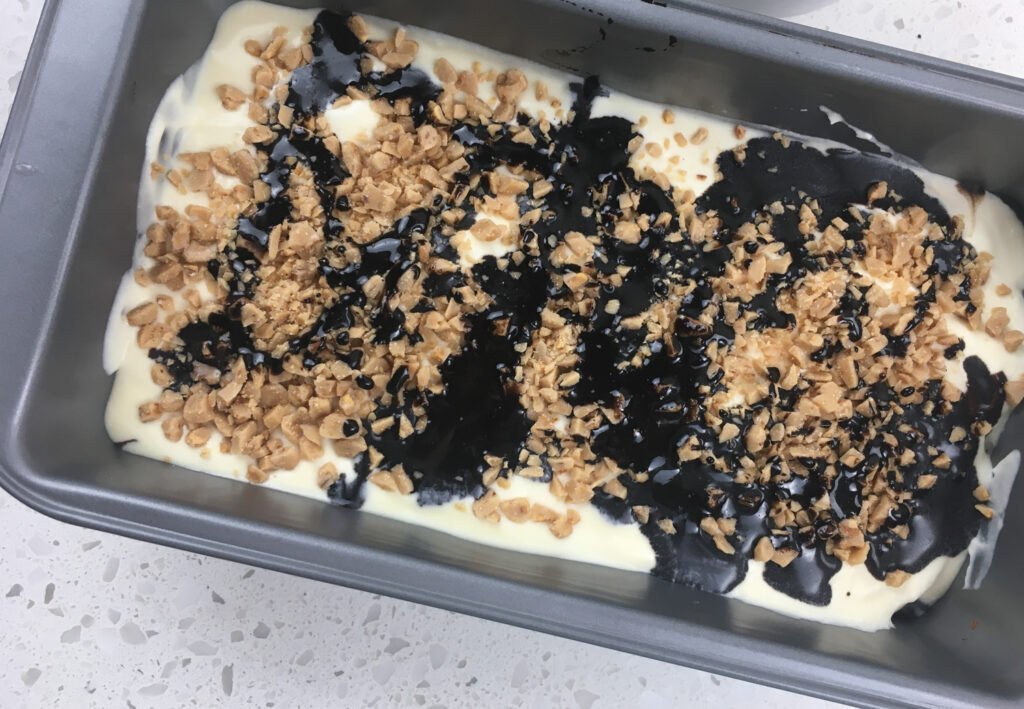
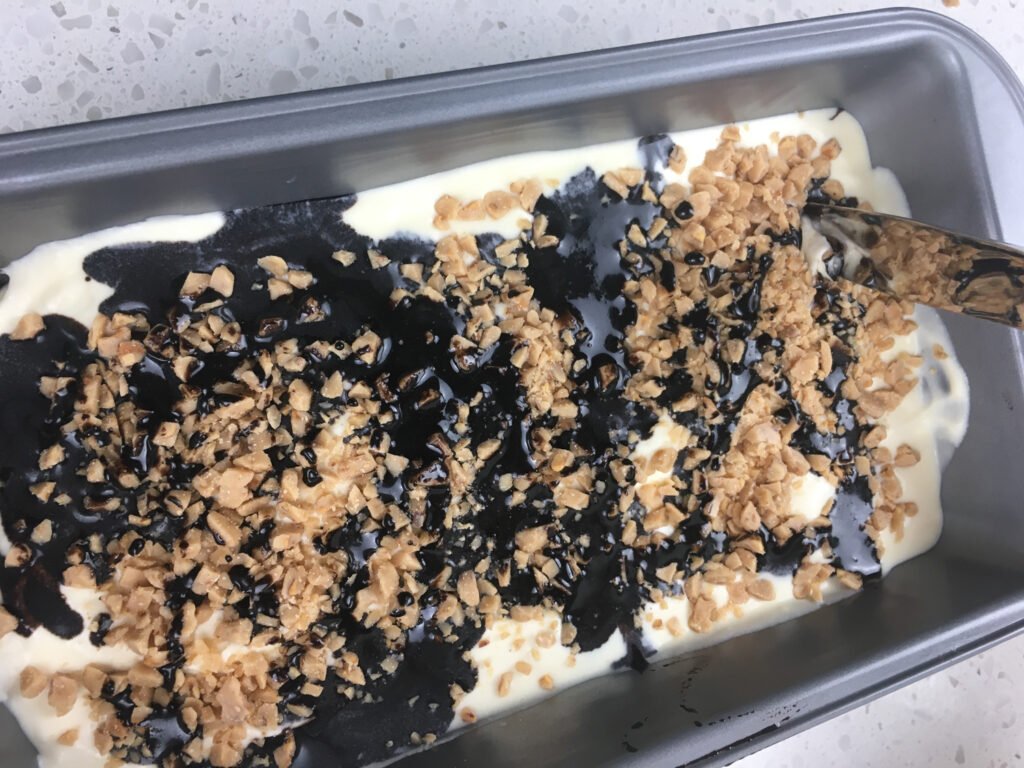
- Drizzle half the chocolate syrup and spread 1/3 cup of the toffee bits evenly across the top.
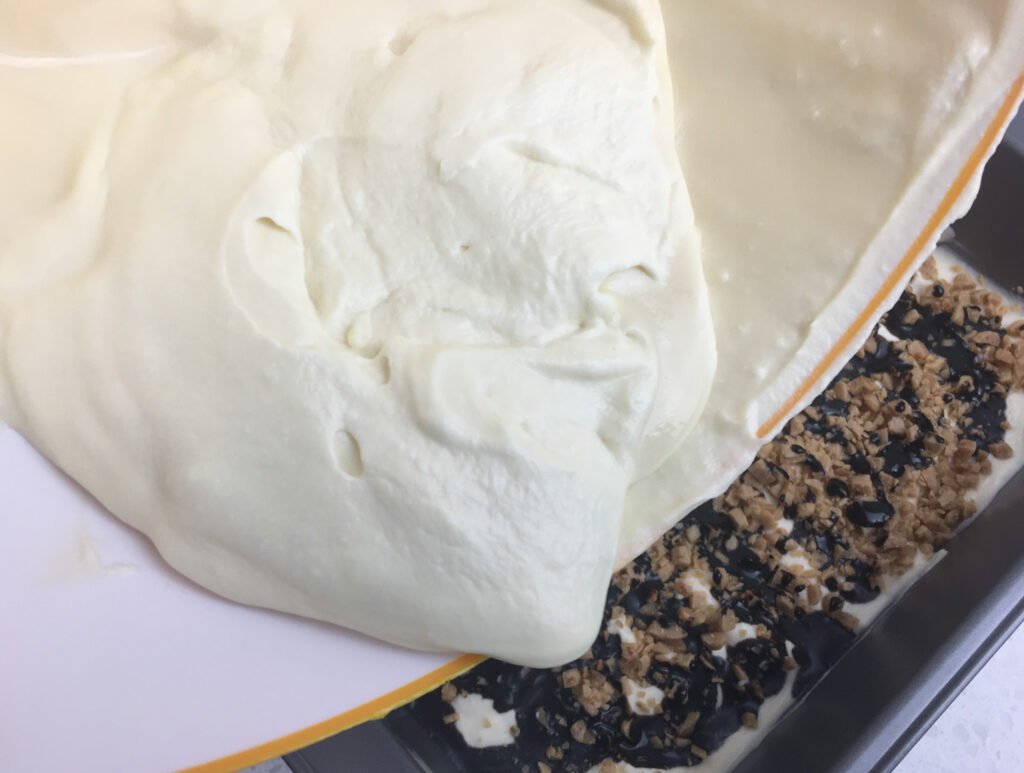
- Spoon the remaining whipped cream mixture on top and spread until smooth.
- Repeat the process described earlier with the remaining chocolate syrup and toffee.
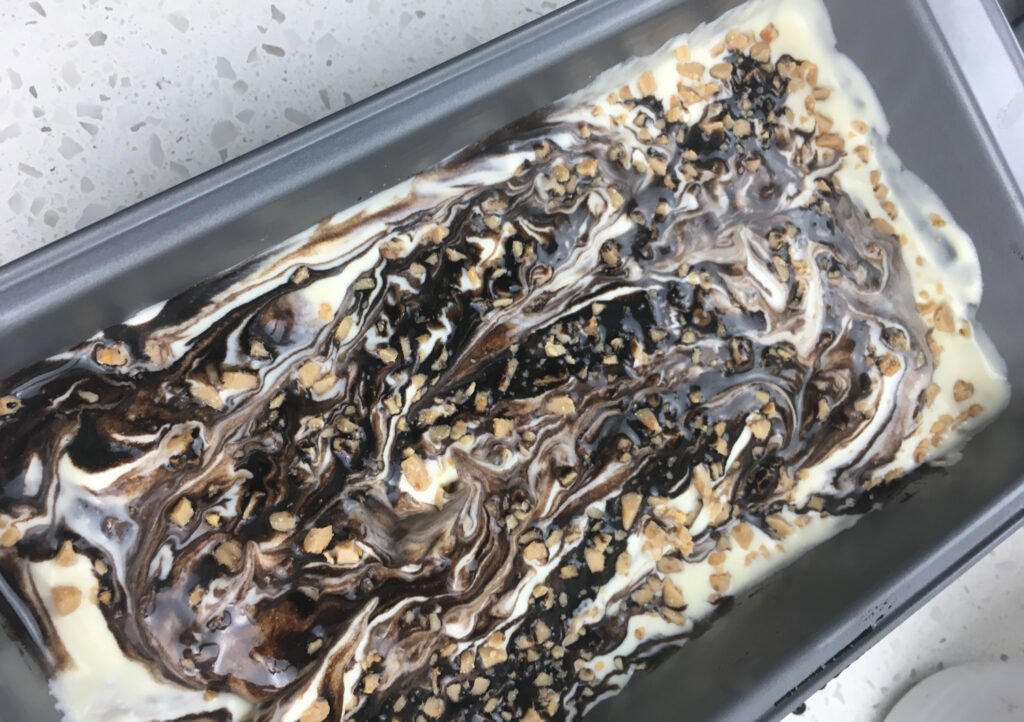
- Insert a butter knife into the mixture at one end of the loaf pan and pull it back and forth across the length of the pan to incorporate the chocolate and toffee throughout.
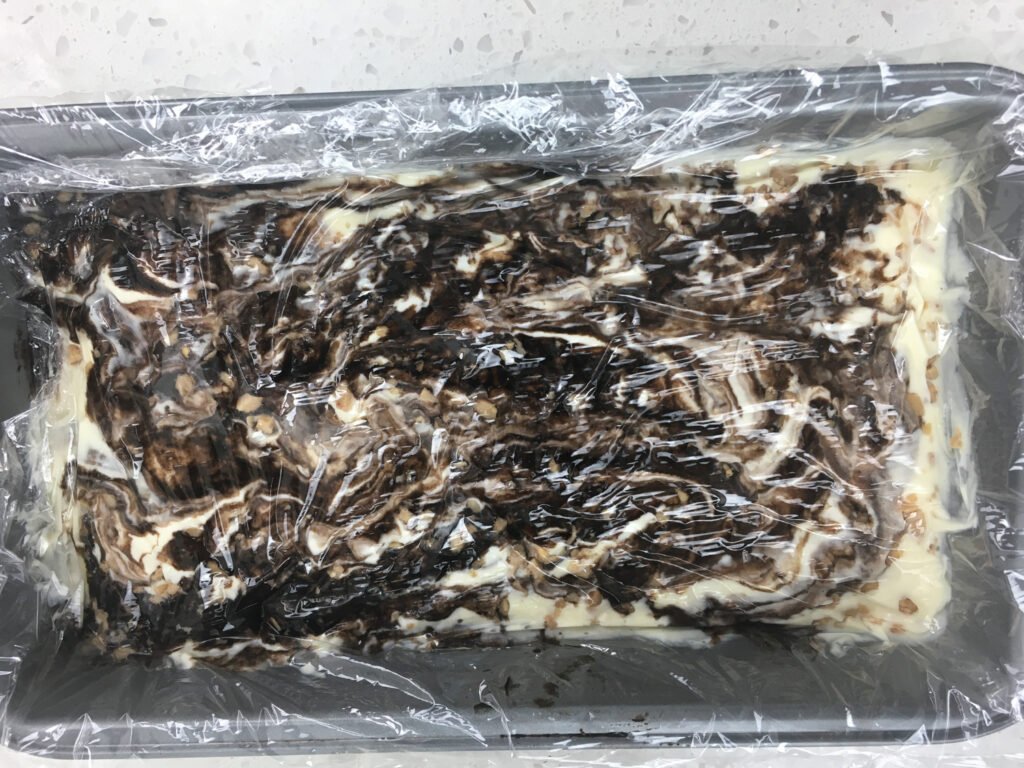
- Cover with some plastic wrap and gently press across the top to remove any air bubbles.
- Place in the freezer for a minimum of four hours, or preferably, overnight.
- Remove from freezer 10-15 minutes before serving to soften.
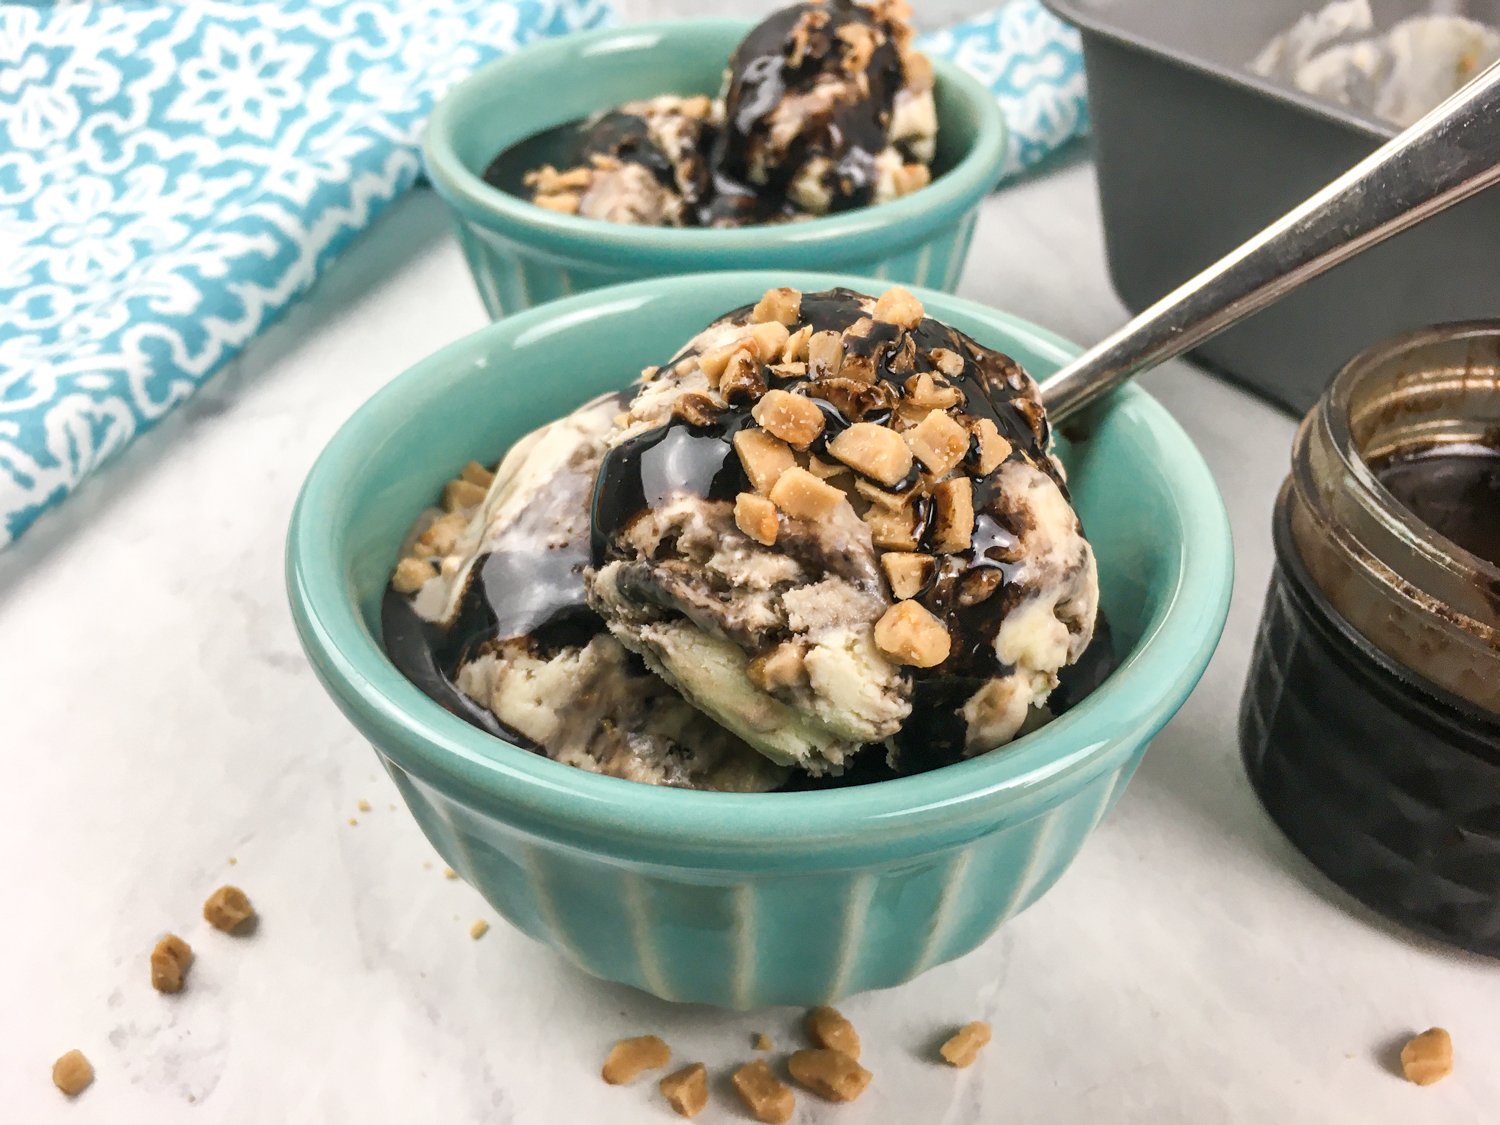
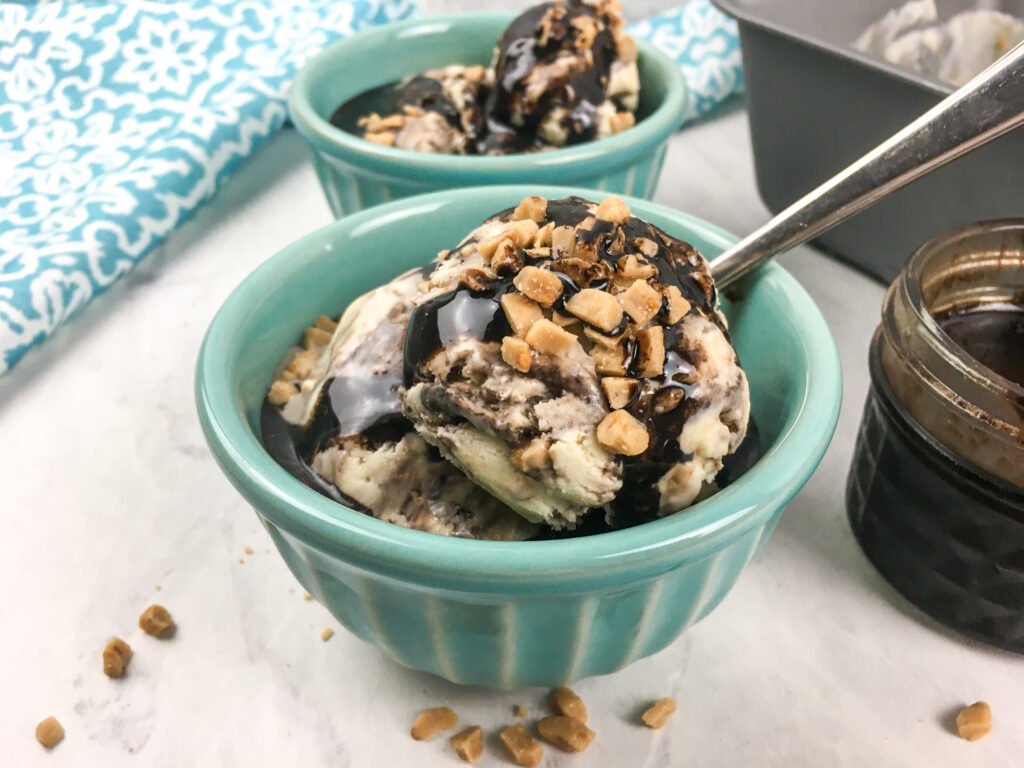
- To serve, scoop into individual bowls and top with additional chocolate sauce and toffee bits, if desired. Enjoy!
Quick Recipe Notes & Pro Tips
Tried this recipe?
Let us know how it was!Step-by-Step Instructions
This process is simple but requires attention to timing and technique. Keep the mixture light, work gently, and build clean layers for the best texture and swirls.
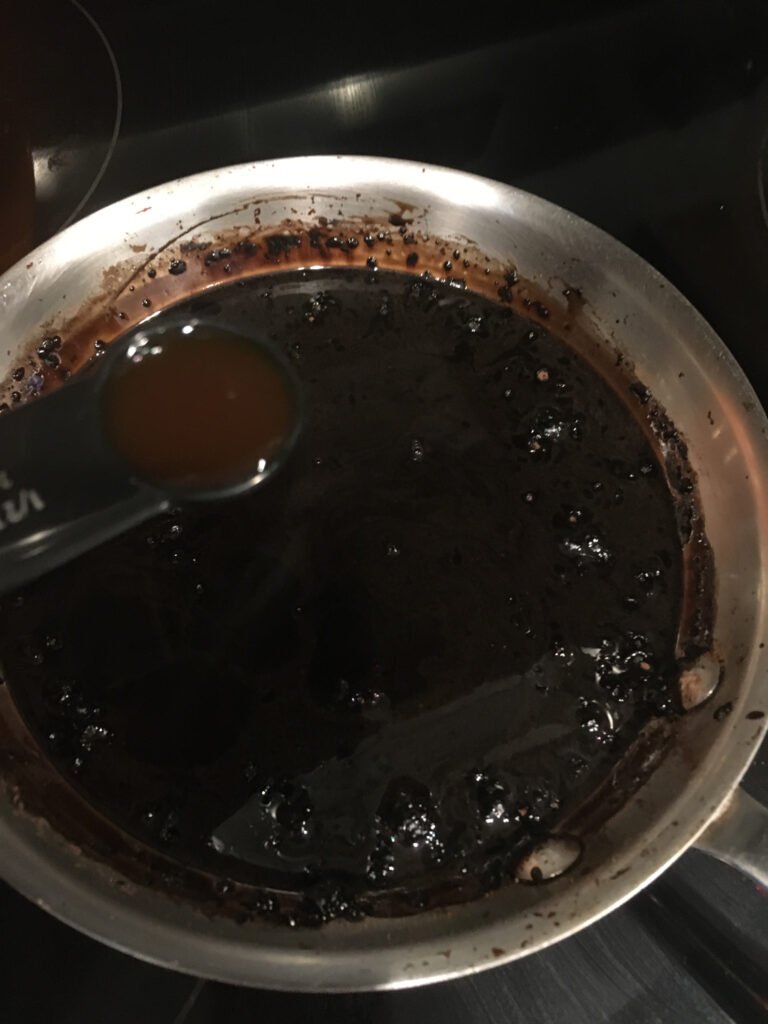
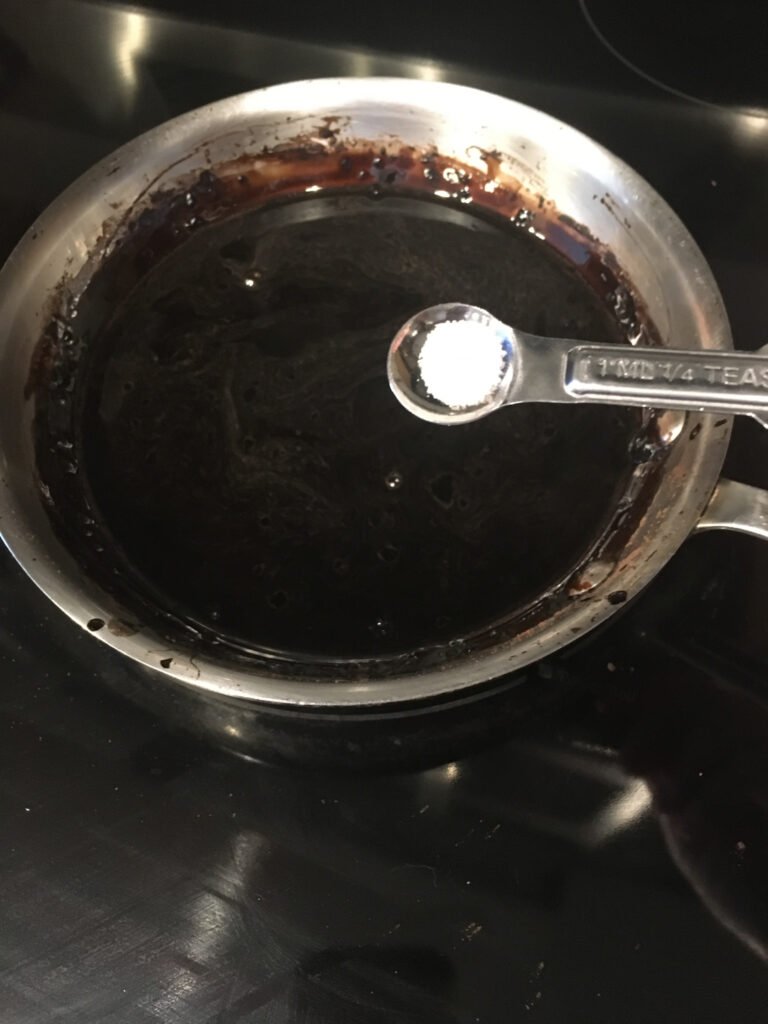
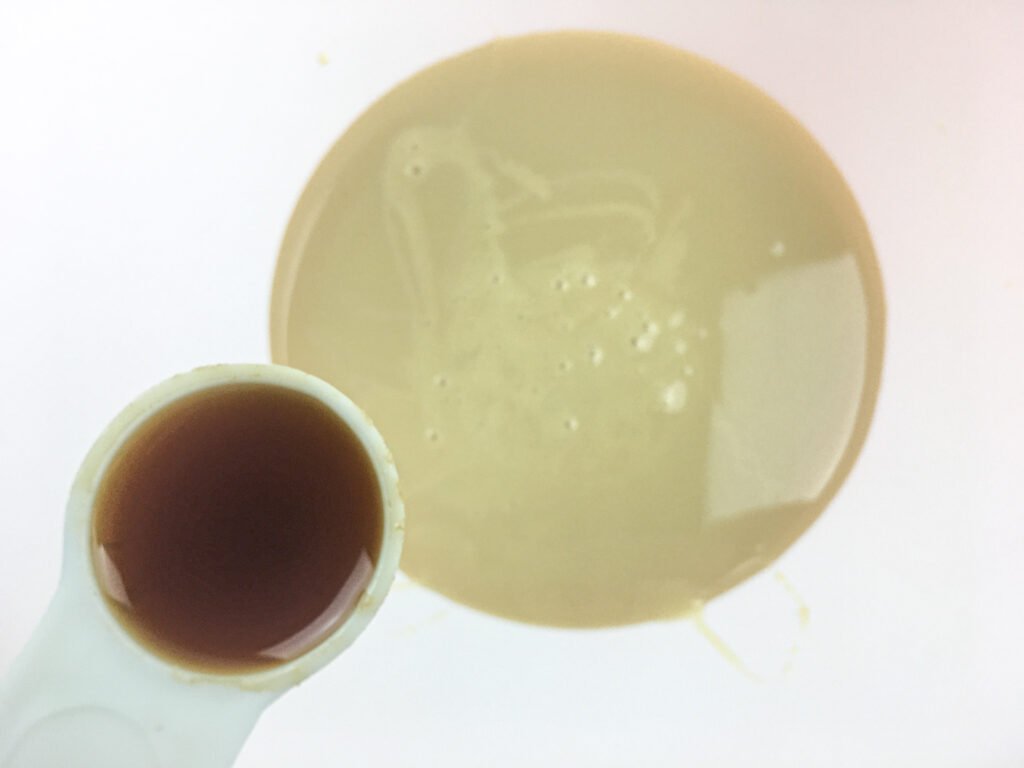
Step 1: To prepare the chocolate syrup, place a small skillet over medium heat and add water, white sugar, unsweetened dark cocoa powder, vanilla extract, and salt.
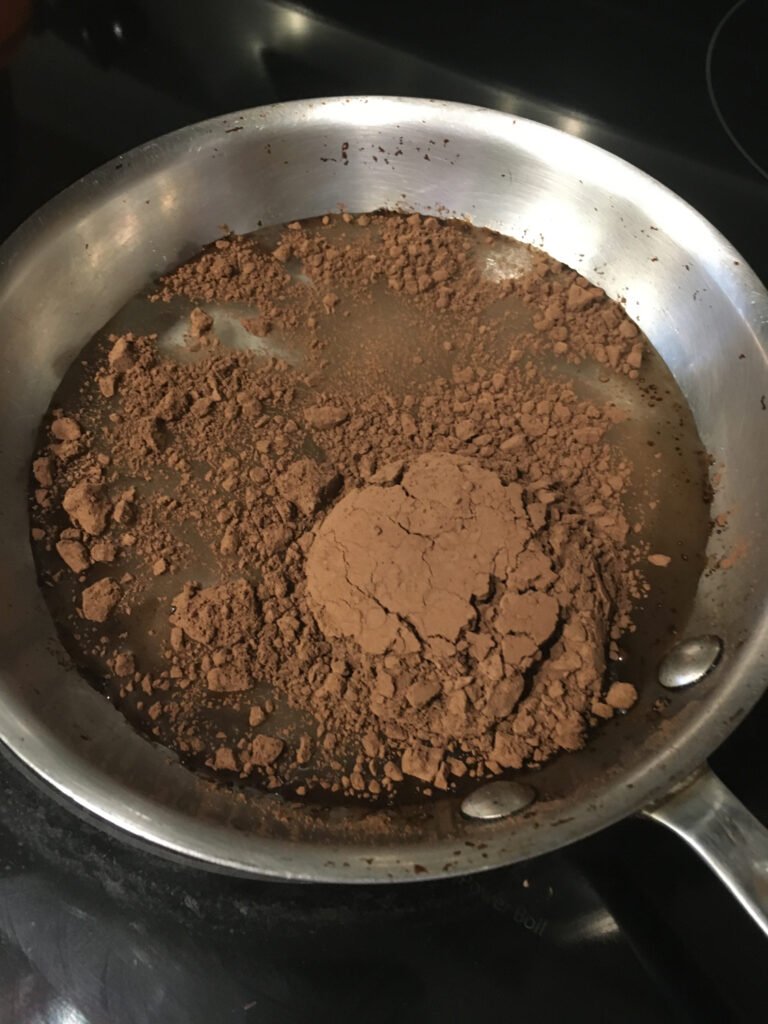
Step 2: Whisk continuously and vigorously until the mixture is smooth, the sugar dissolves, and the cocoa fully blends in, about 2–3 minutes.
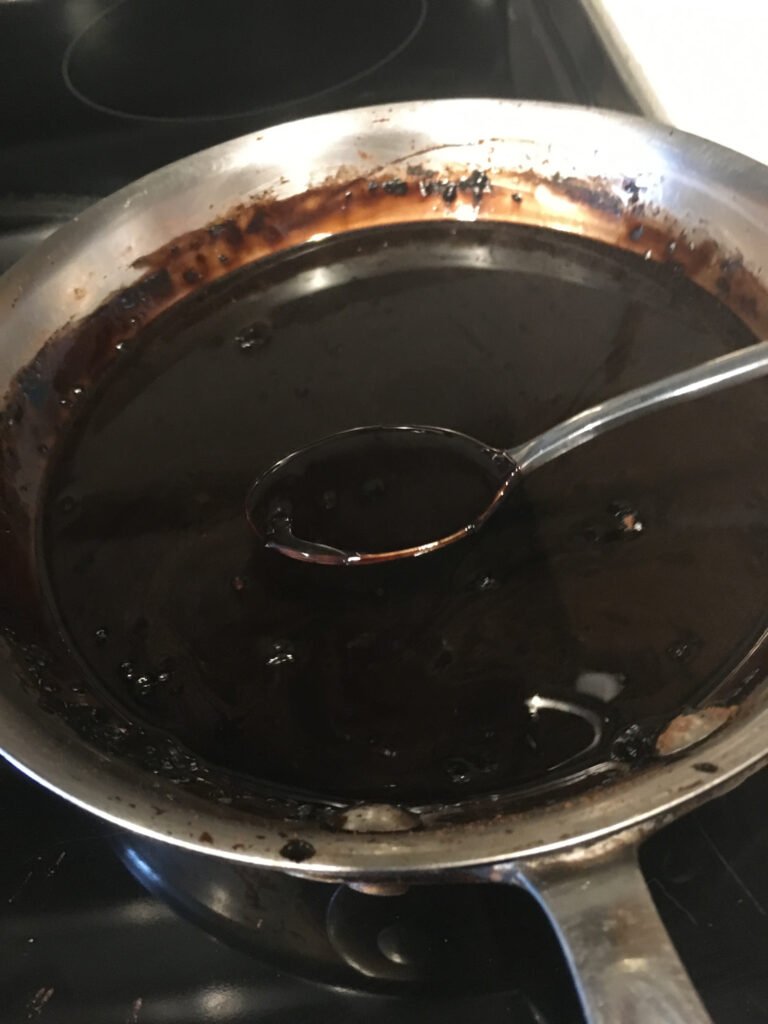
Remove the skillet from the heat. Let the chocolate syrup cool completely. Transfer the cooled syrup to an airtight container. Cover and refrigerate until fully chilled and ready to use in the ice cream. This approach keeps the texture creamy, the layers distinct, and the final result consistent every time.
Step 3: Pour the heavy whipping cream into a large mixing bowl.
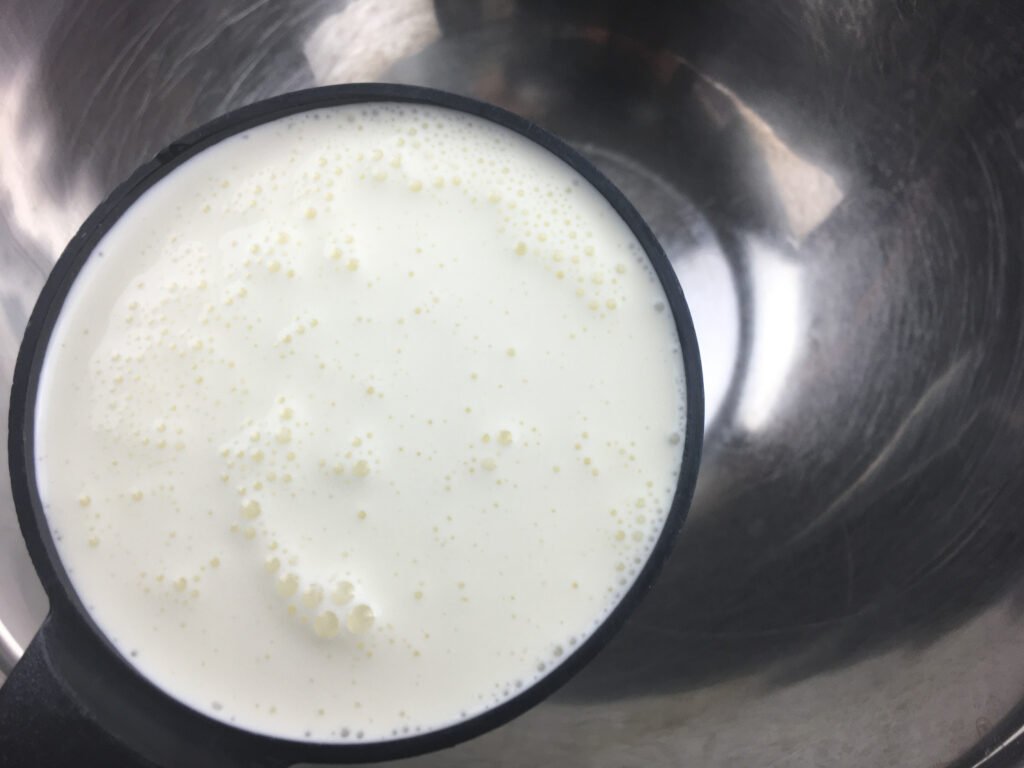
Step 4: Using a hand mixer on high speed, beat the cream until it becomes light and fluffy, forming soft peaks.
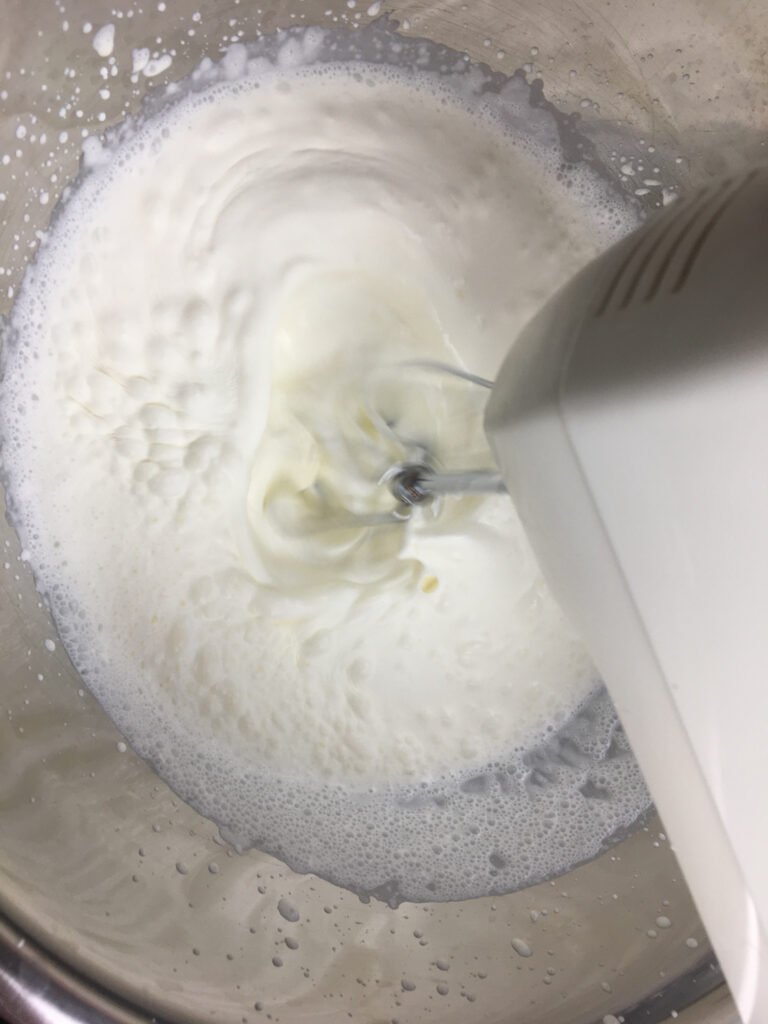
Step 5: Pause occasionally to scrape down the sides of the bowl with a spatula to ensure all the cream is evenly whipped.
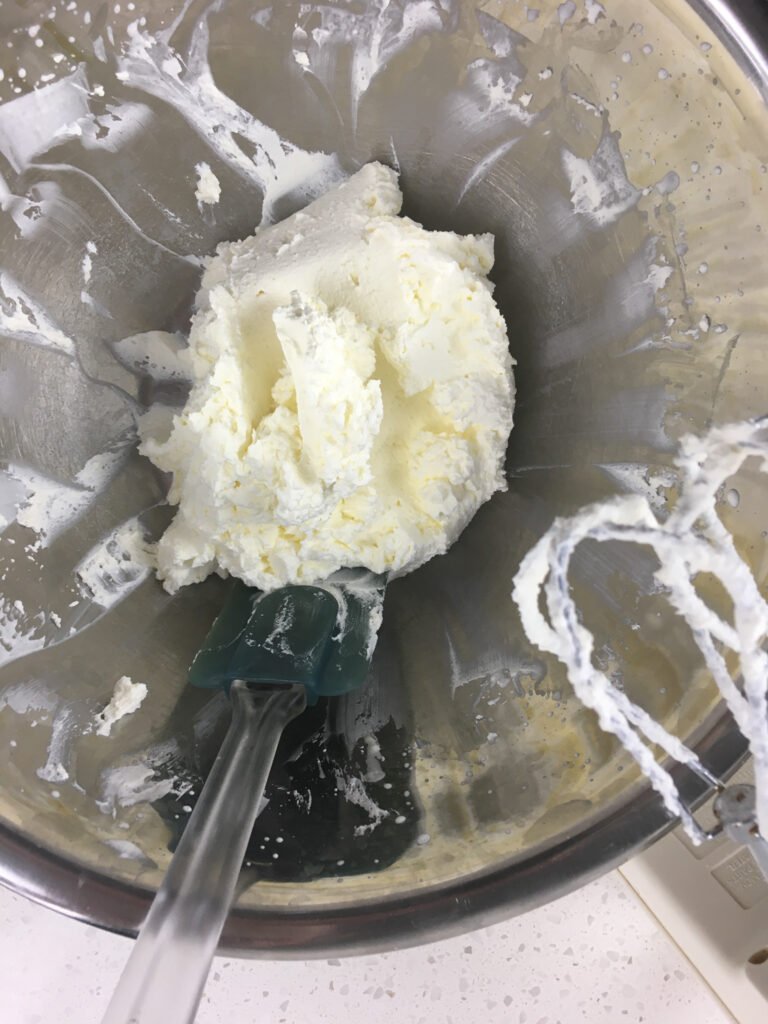
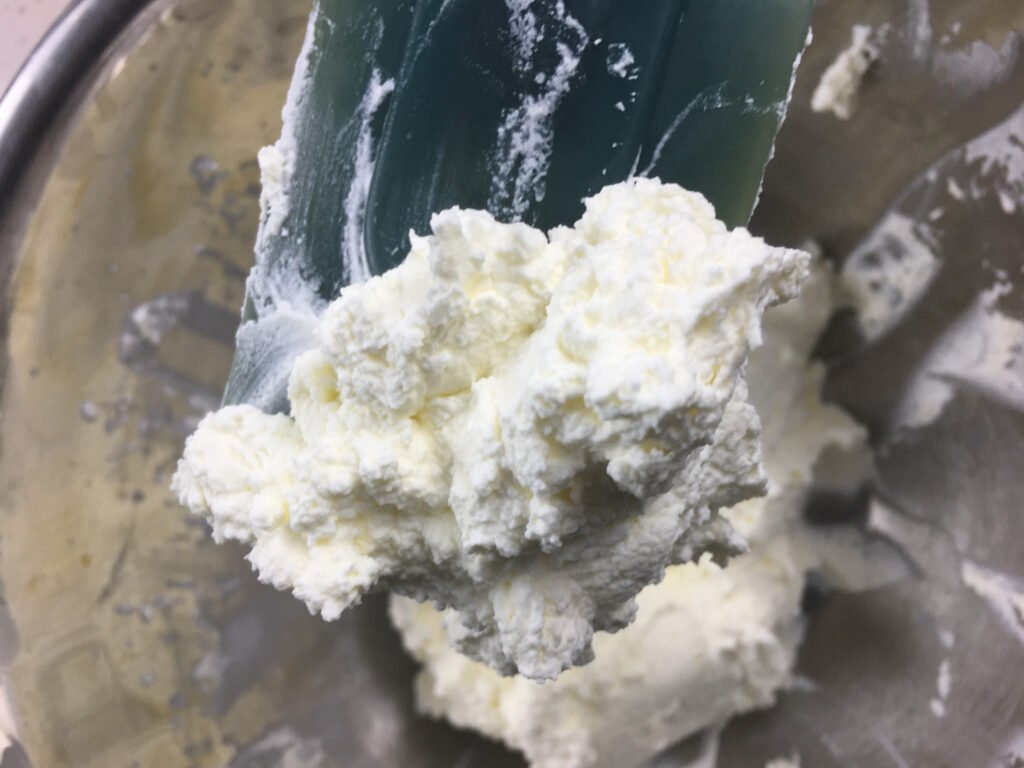
Once whipped, set the bowl aside while preparing the remaining ingredients.
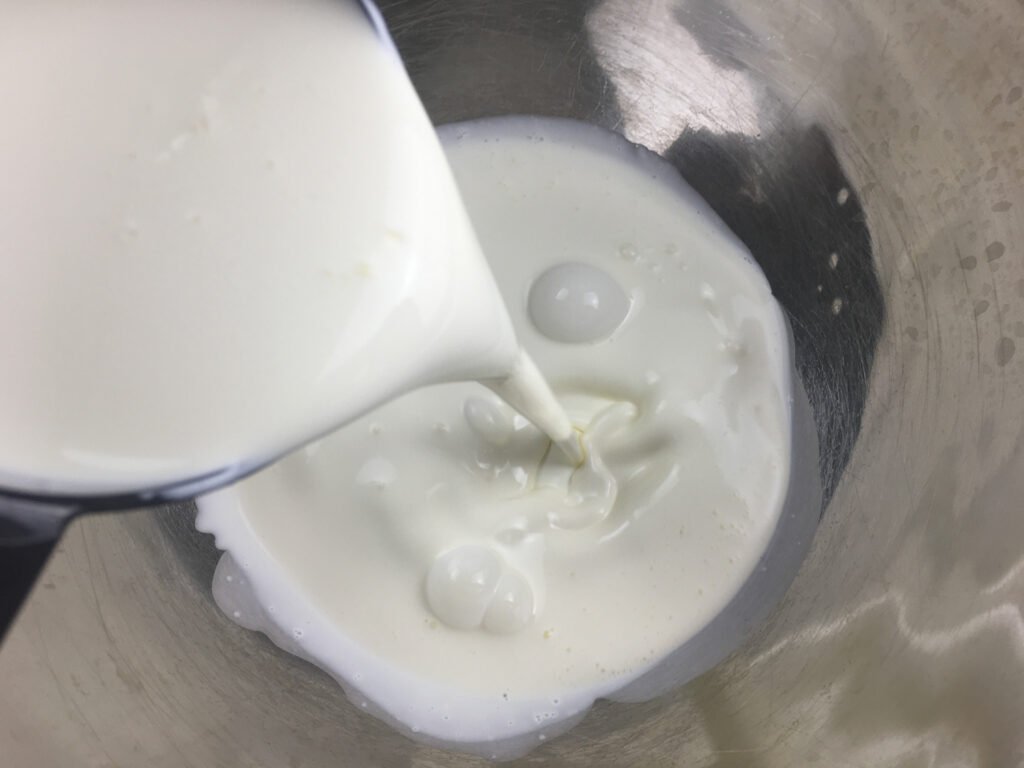
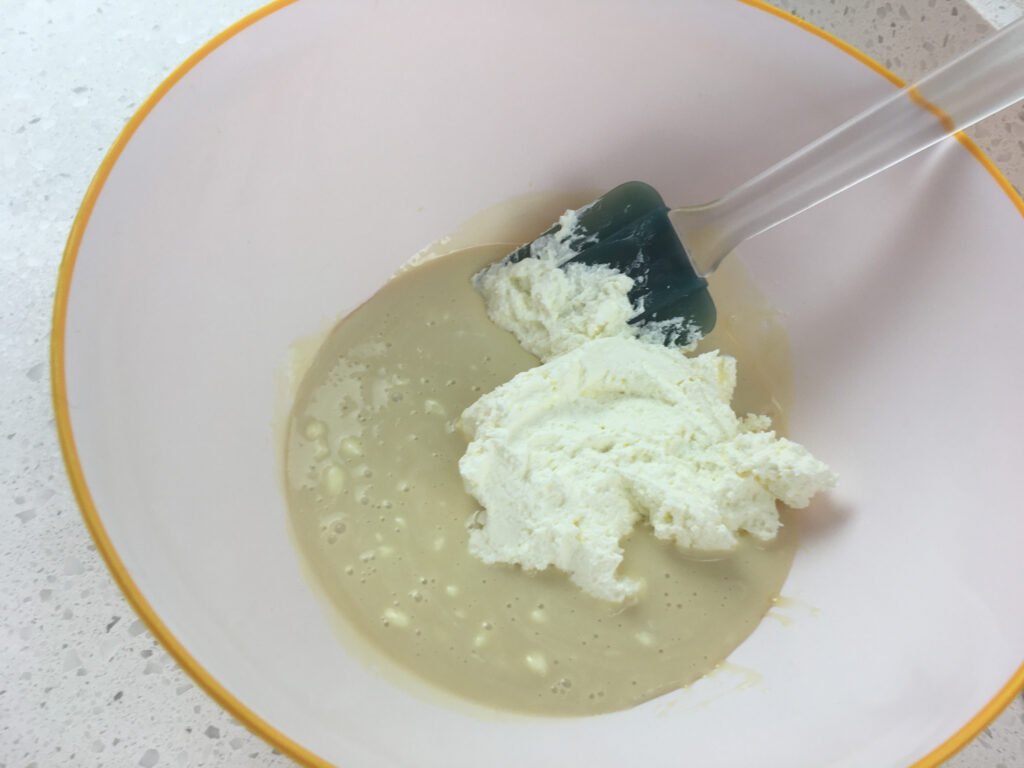
Step 6: Pour the sweetened condensed milk and vanilla extract into a large mixing bowl.
Step 7: Stir until the mixture is smooth and fully combined.

Step 8: Add a small portion of the whipped cream to the bowl.
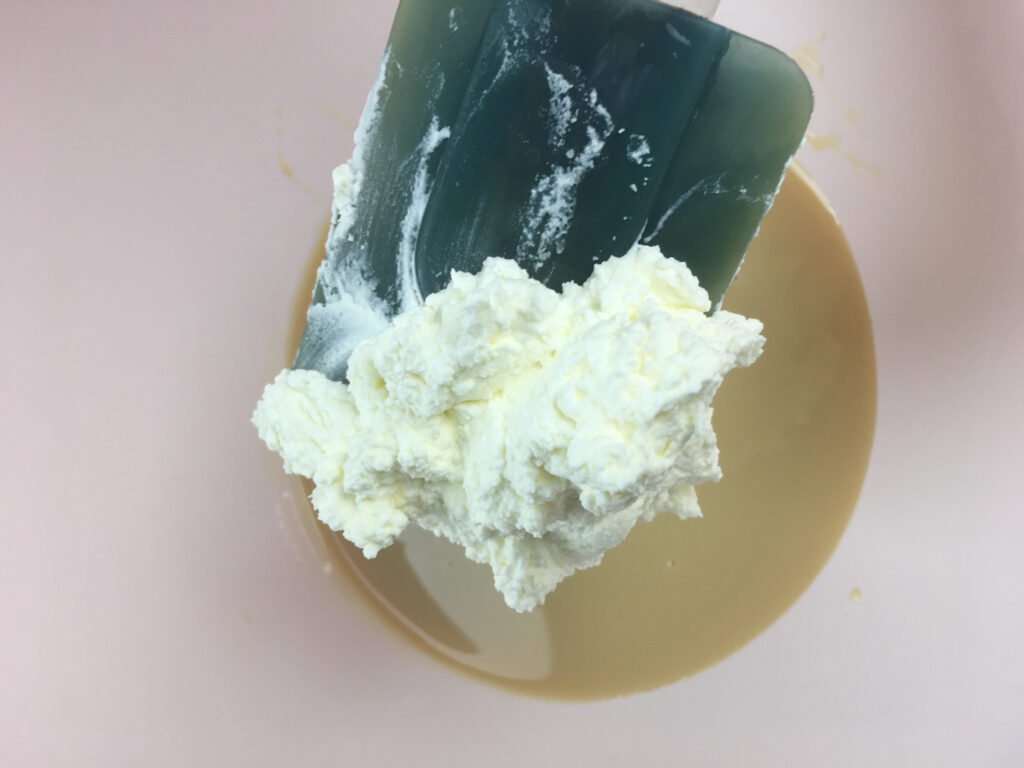
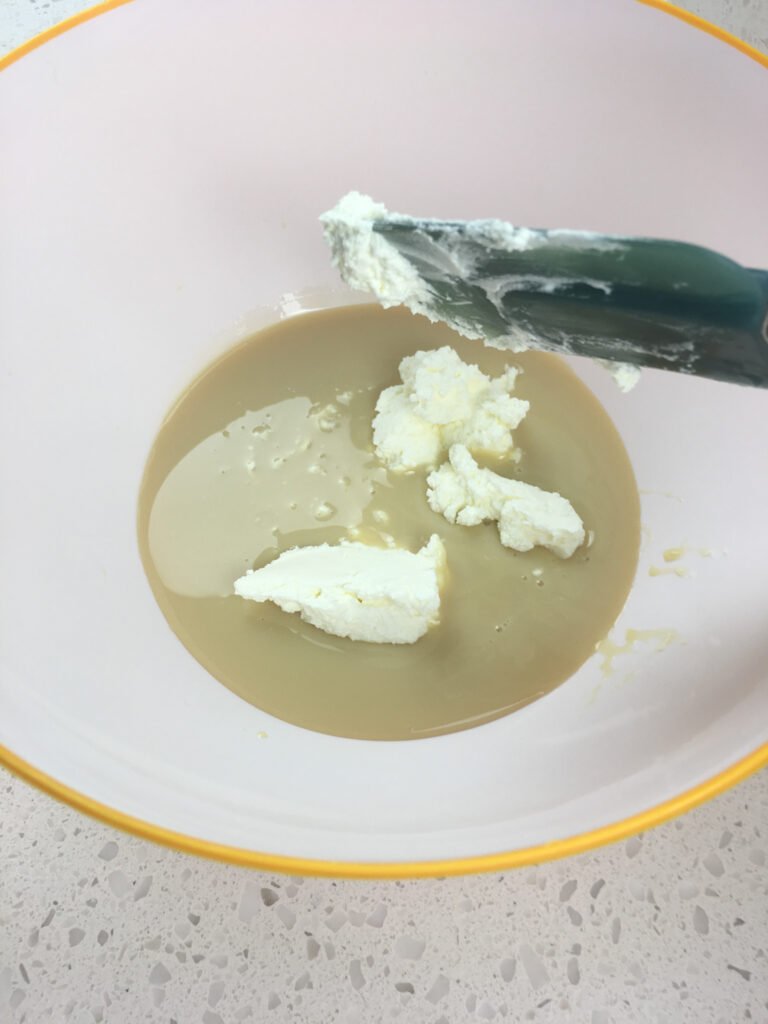
Step 9: Gently fold it into the condensed milk mixture. Do not stir or overmix.
Step 10: Add the remaining whipped cream.
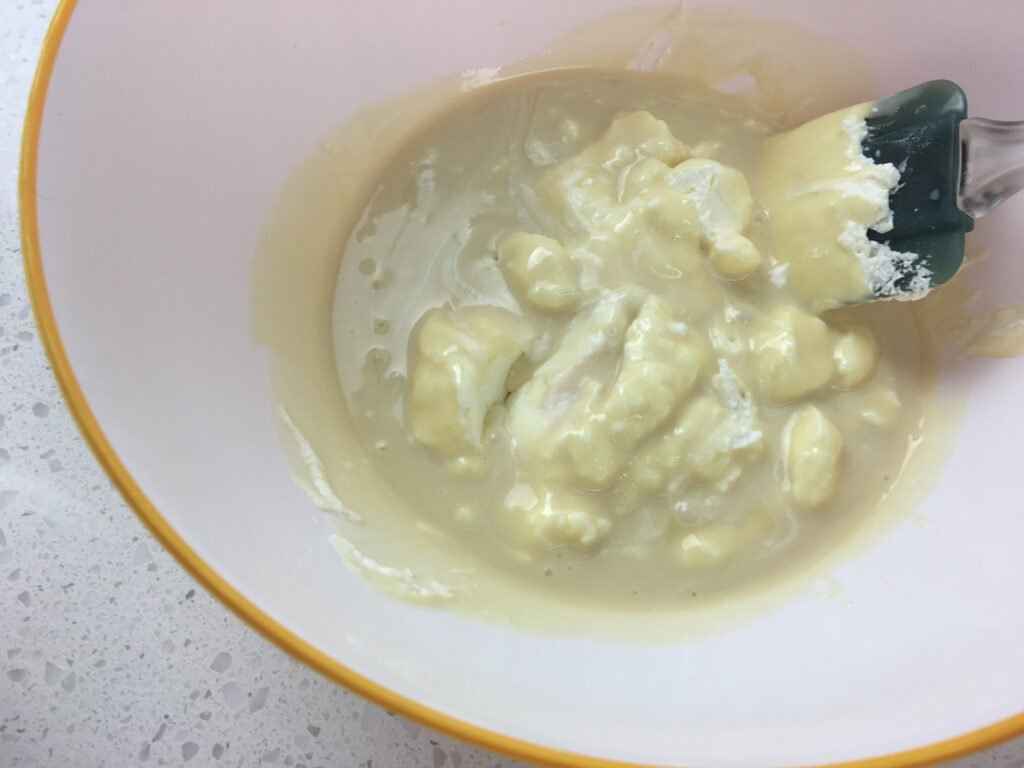
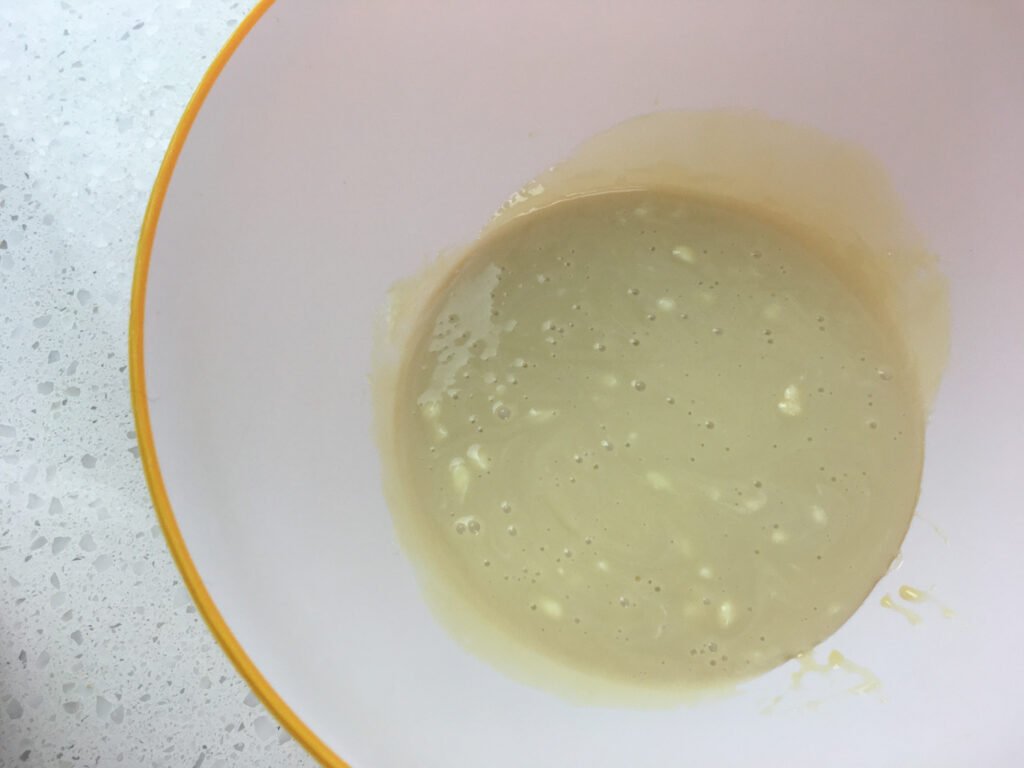
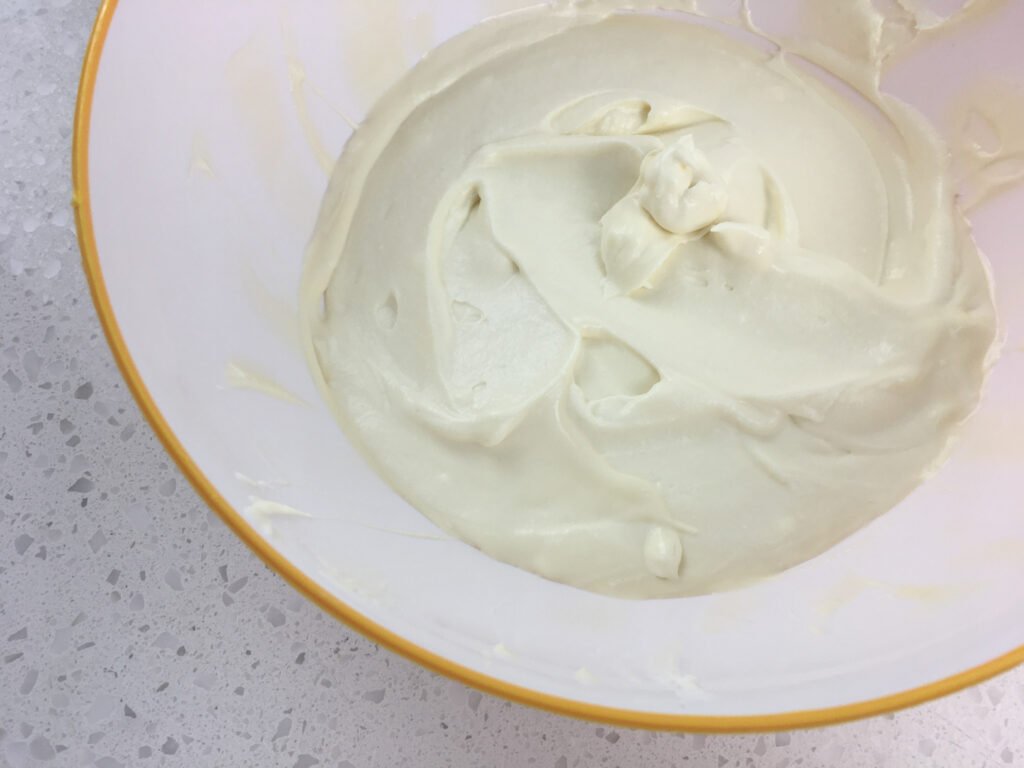
Step 11: Fold gently until the mixture is fully combined, light, and airy, with no visible streaks.
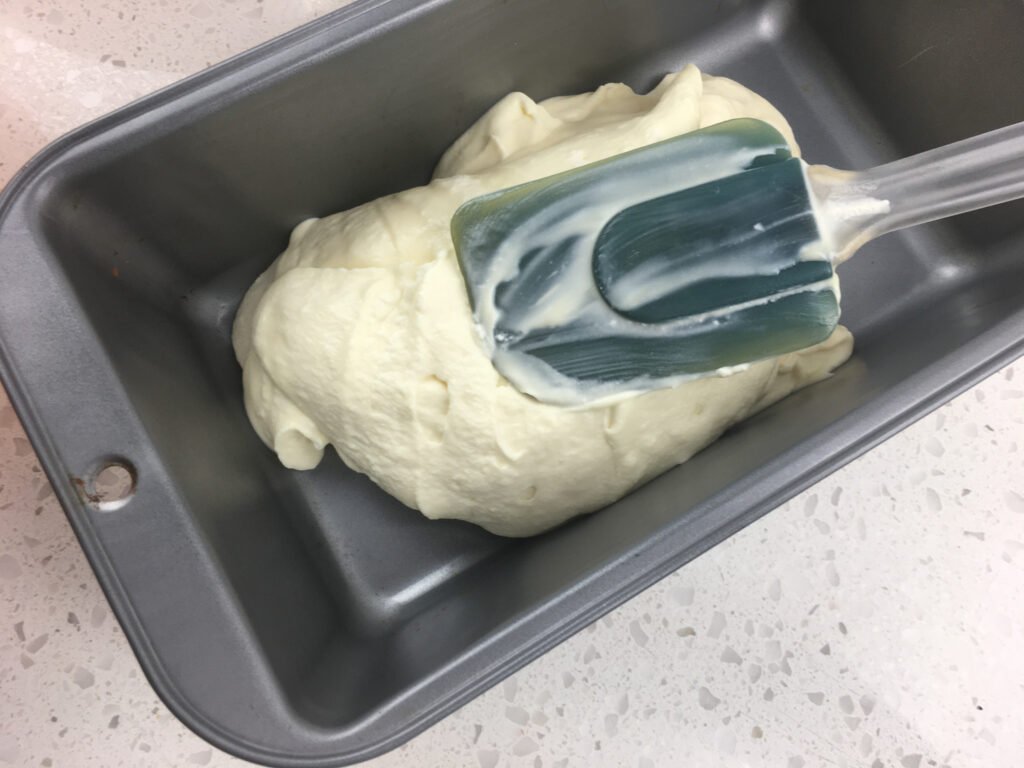
Step 12: Spoon half of the ice cream mixture into a 9” x 5” loaf pan.
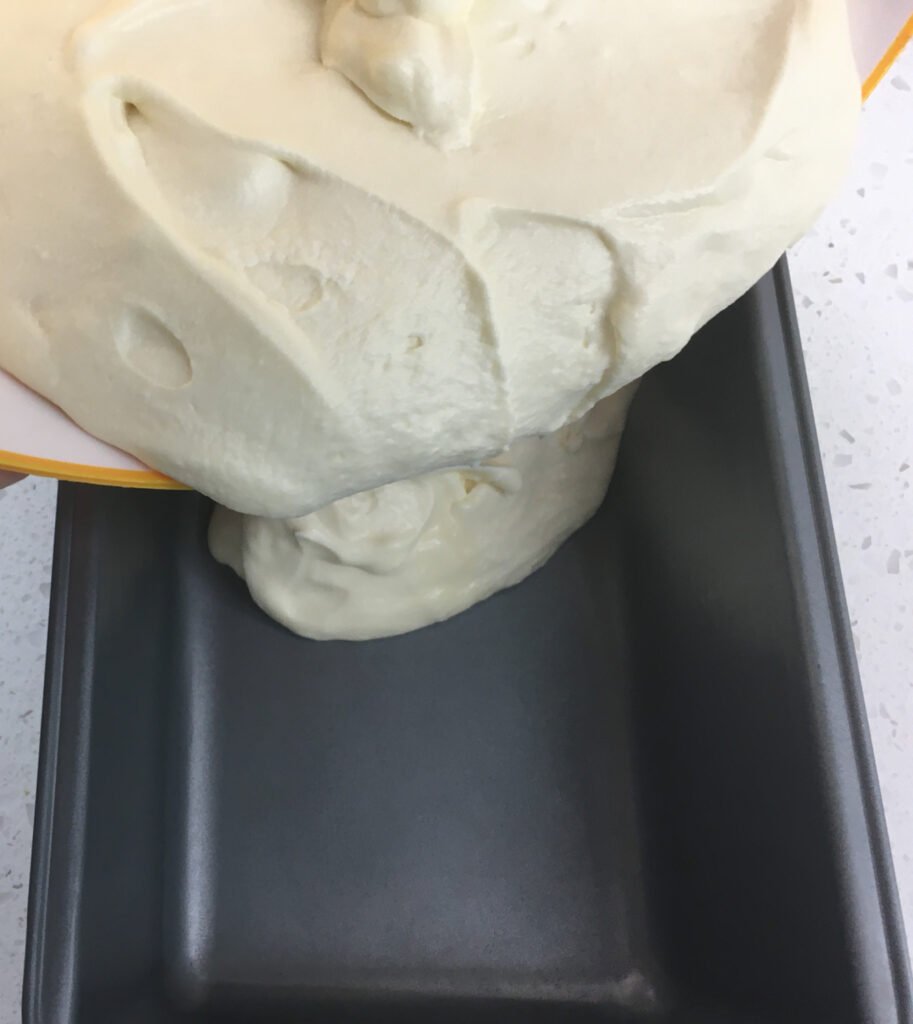
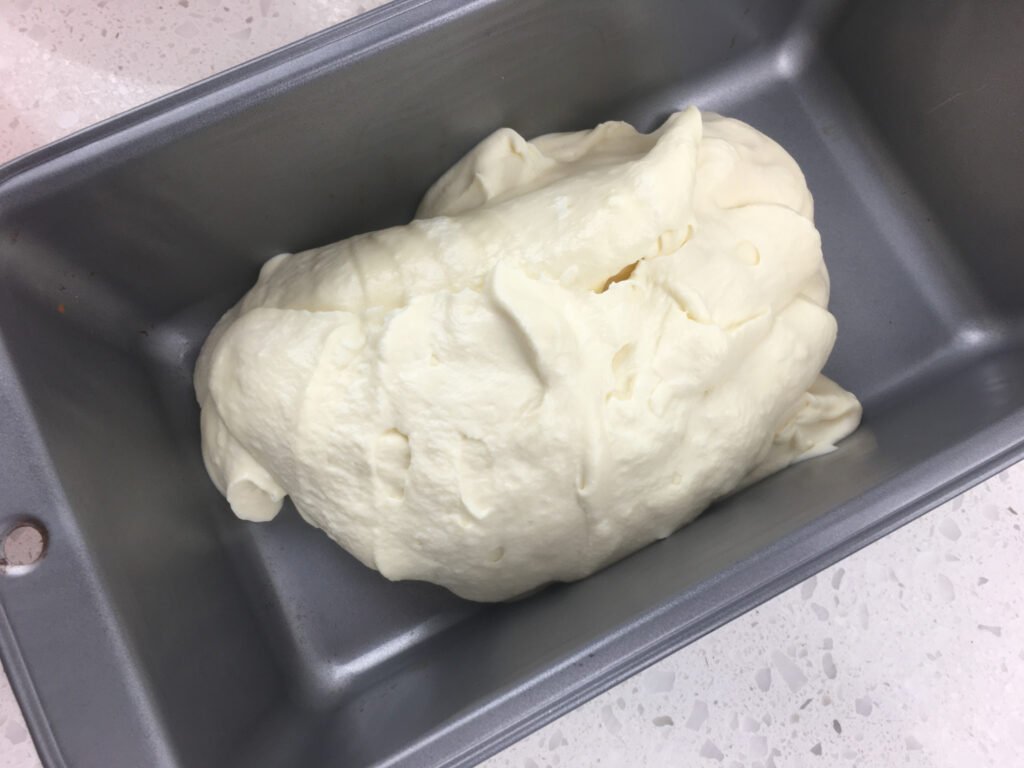
Step 13: Use a spatula to spread it into an even layer.
Step 14: Sprinkle ⅓ cup of the toffee bits evenly across the top.
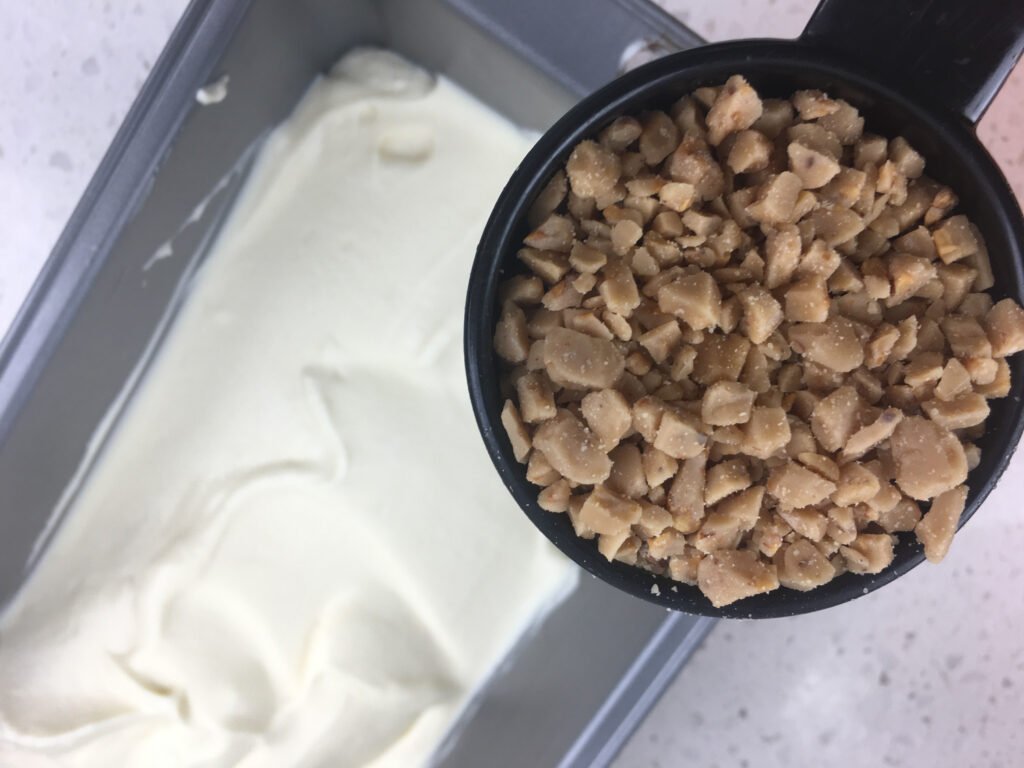
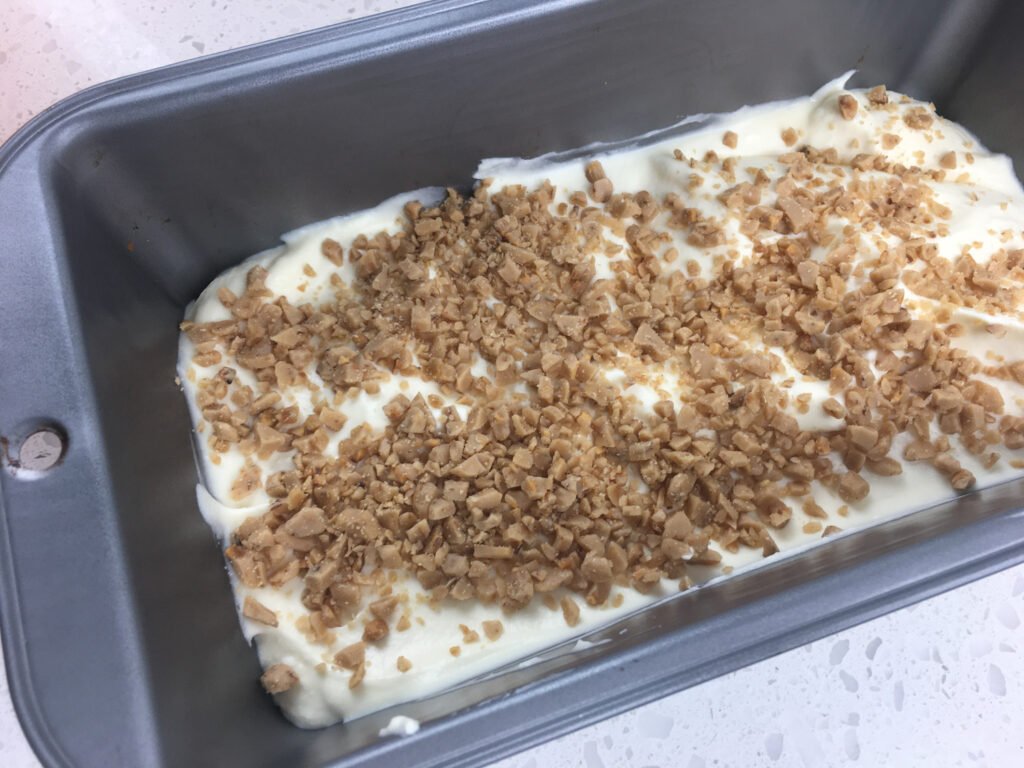
Step 15: Drizzle half of the chilled chocolate syrup evenly over the surface.
Step 16: Spoon the remaining ice cream mixture over the first layer in the loaf pan.
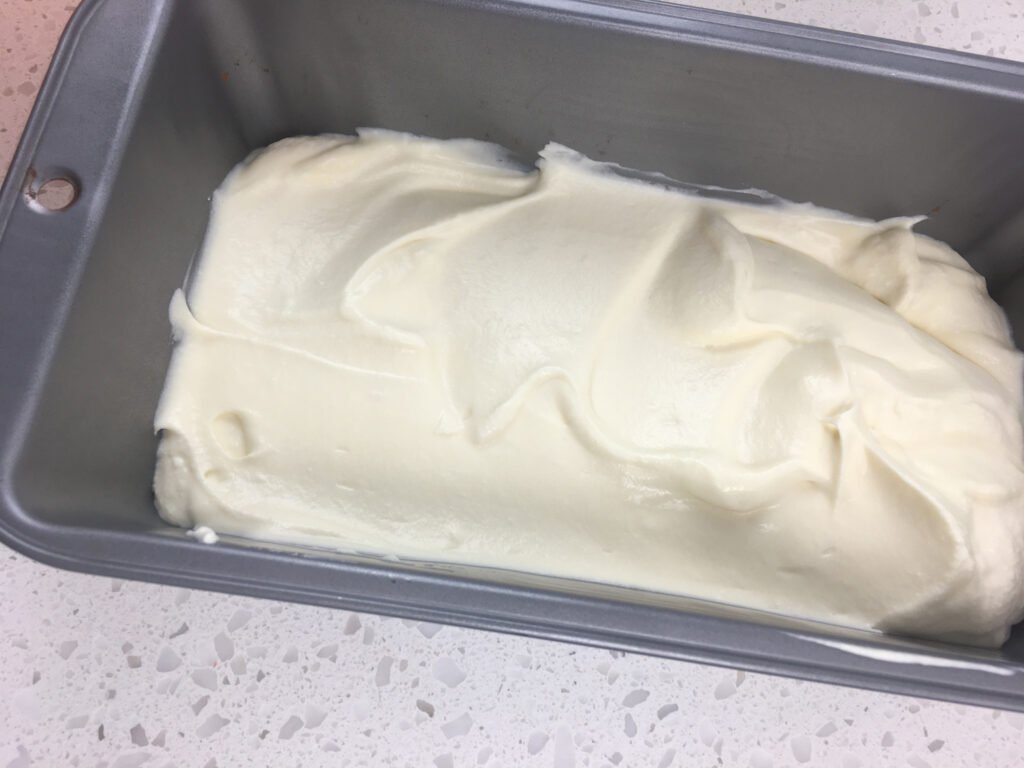
Step 17: Gently spread it into a smooth, even layer.
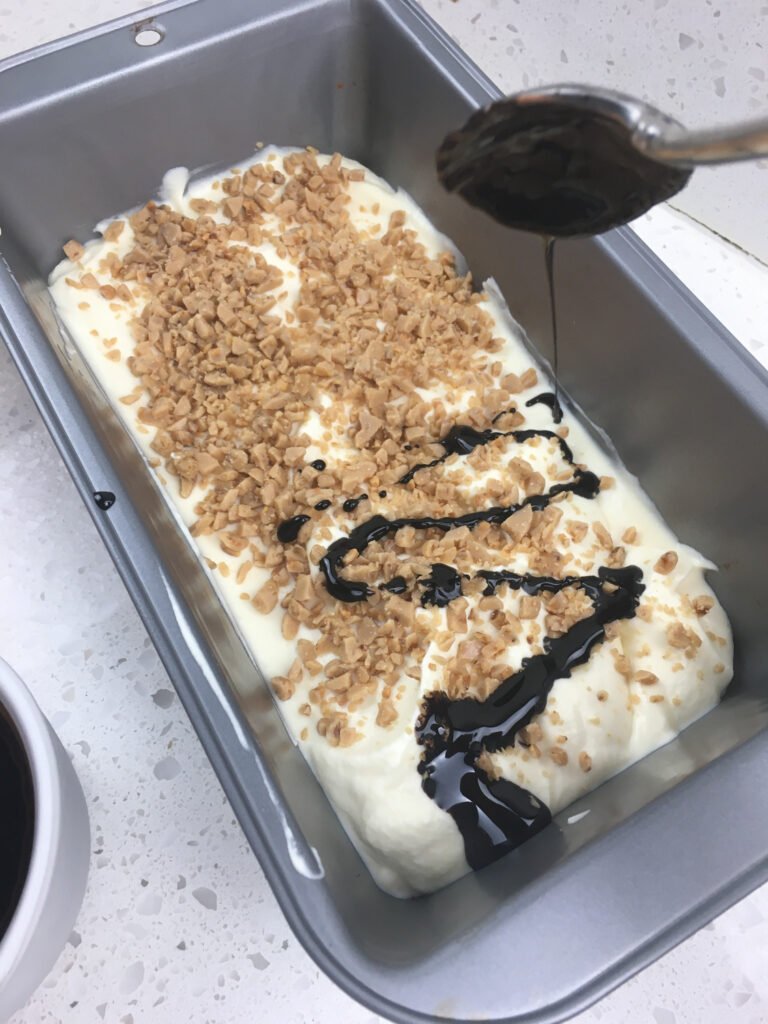
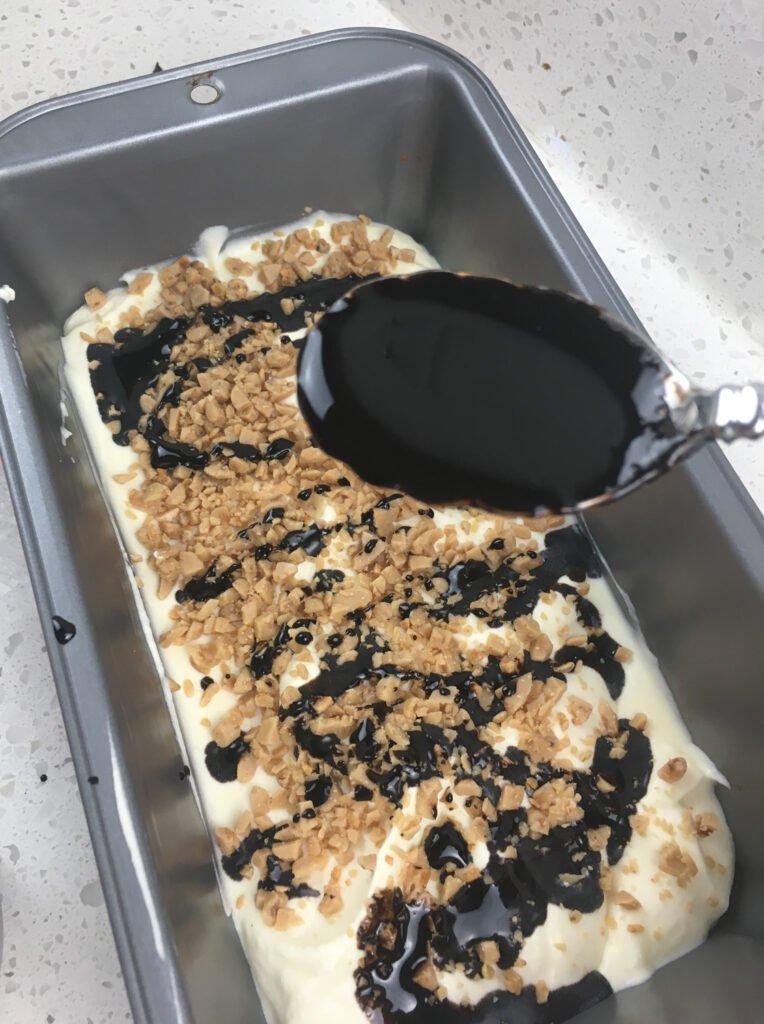
Step 18: Sprinkle the toffee bits evenly across the surface.

Step 19: Drizzle the remaining chilled chocolate syrup over the top.
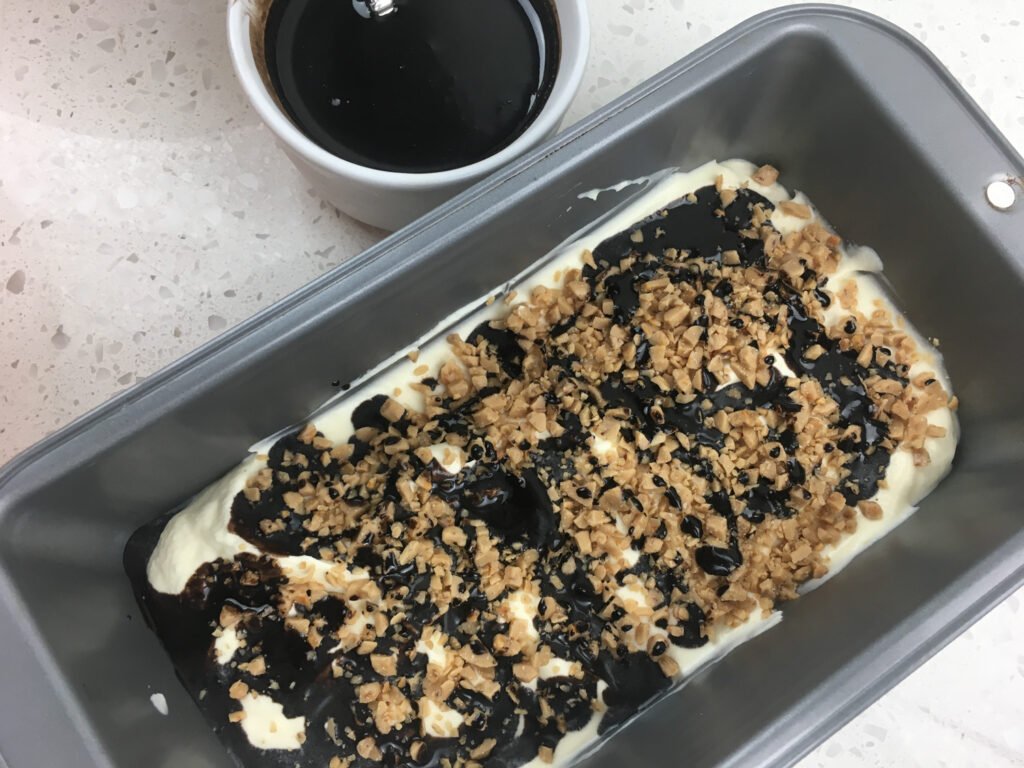
Step 20: Insert a butter knife into the ice cream at one end of the loaf pan.
Step 21: Gently pull the knife back and forth along the length of the pan to create swirls and distribute the chocolate and toffee.
Do not overmix.
Step 22: Cover the surface with plastic wrap, pressing it gently directly against the ice cream to remove air pockets. Place the pan in the freezer and freeze for at least 4 hours, or preferably overnight, until fully set.
Step 23: Remove the ice cream from the freezer 10–15 minutes before serving to allow it to soften slightly. Scoop the ice cream into individual bowls.
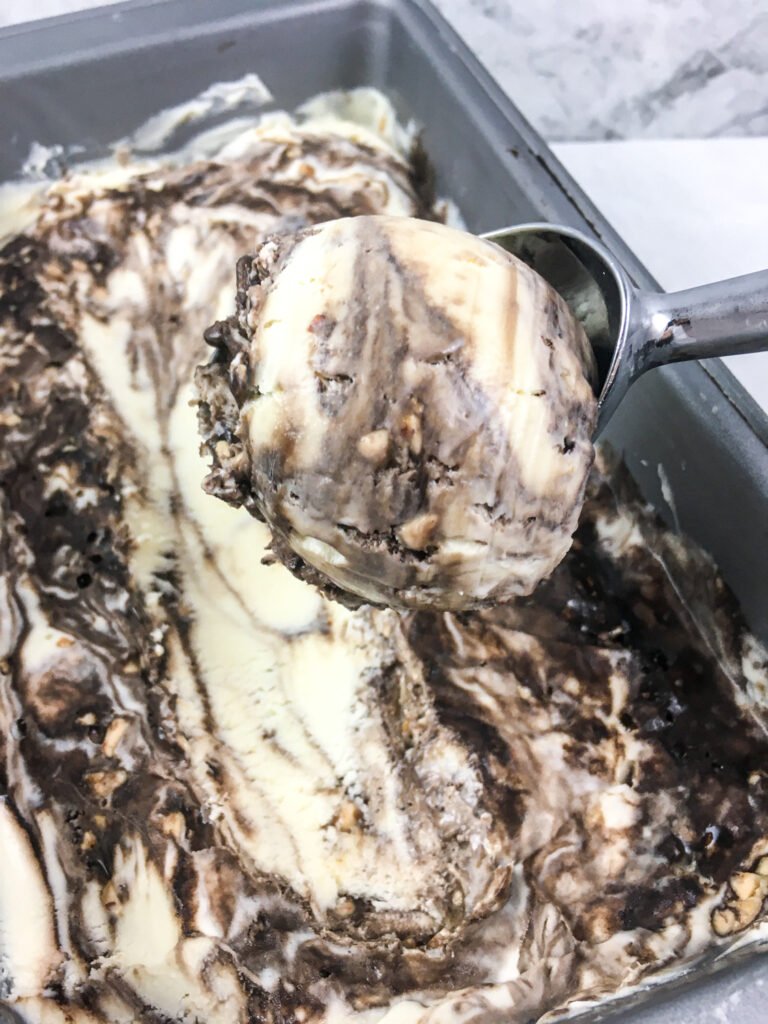
Step 24: Top with additional chocolate syrup and toffee bits, if desired. Serve and enjoy.
Tips for Best Results
Small details make a big difference with no-churn ice cream. These tips help protect the texture, keep the mixture light, and ensure a clean flavor from first scoop to last.
- Chill the chocolate syrup fully before using.
Even slightly warm syrup can melt the whipped cream and collapse the air you’ve worked to build. The syrup should be completely cold so it stays in defined ribbons instead of blending into the base. - Fold gently to keep the mixture airy.
Use slow, sweeping motions with a spatula rather than stirring. Overmixing deflates the whipped cream, resulting in denser, heavier ice cream once frozen. - Press plastic wrap directly onto the surface.
Contact with air causes ice crystals and dulls flavor. Pressing the wrap directly against the ice cream creates a tight seal, helping maintain a smooth, creamy texture.
These small adjustments take very little extra effort but make the difference between good homemade ice cream and a consistently smooth, scoopable result.
Ingredient Swaps & Variations
This no-churn base is flexible and easy to adapt. Use these variations to adjust sweetness, texture, or flavor without changing the method.
- Substitute crushed English toffee or chocolate-covered caramel pieces
If Heath bits aren’t available, finely crushed English toffee or caramel-filled chocolate pieces work well. Aim for small pieces so they freeze cleanly and stay easy to scoop. - Use milk chocolate cocoa for a sweeter profile.
Swapping dark cocoa for milk chocolate cocoa softens the bitterness and creates a more dessert-forward, candy-style chocolate flavor—especially appealing for kids or sweeter palates. - Add chopped nuts for extra texture.
Toasted almonds, pecans, or hazelnuts add contrast and depth. Chop finely so the ice cream remains easy to scoop straight from the freezer. - Swirl in caramel sauce alongside the chocolate
Layer caramel with the chocolate syrup for a richer, sundae-style effect. Keep the caramel chilled and use a light hand to preserve clean swirls.
These swaps let you customize the ice cream while keeping the structure and freezing method exactly the same.
Storage & Make-Ahead Tips
Proper storage keeps the texture smooth and the flavors clean, especially with no-churn ice cream.
- Store tightly covered for up to 2 weeks.
Use an airtight container or press plastic wrap directly against the surface before sealing. This prevents freezer burn and protects the ice cream from absorbing odors. - Let it sit 10–15 minutes before serving.
Remove the ice cream from the freezer and allow it to soften slightly at room temperature. This short rest improves scoopability and brings the flavors back to life.
Handled this way, the ice cream stays creamy, easy to serve, and just as enjoyable days after it’s made.

- Crystal-Clear Tritan Plastic: Allows easy visibility and features Rubbermaid Brilliance’s signature 360-degree clarity.
- Shatter-Resistant: Durable Tritan plastic ensures the containers are resilient even against accidental drops.
- Space-Efficient: Stackable design allows for convenient and organized pantry storage.
FAQs
Do I really not need an ice cream machine?
Correct. This recipe relies on whipped cream to create air and structure, replacing the churning process used in traditional ice cream makers.
Can I use store-bought chocolate syrup?
Yes, you can. However, homemade syrup delivers a deeper chocolate flavor and a thicker consistency, which creates cleaner swirls and a better texture once frozen.
Why does the syrup need to be chilled?
Warm or even slightly lukewarm syrup can melt the whipped cream, causing the mixture to lose volume and freeze unevenly. Fully chilled syrup keeps the base stable and smooth.
Can I freeze this longer than overnight?
Yes. When tightly covered, the ice cream holds its flavor and creamy texture for up to two weeks without becoming icy.
Final Thoughts
Homemade ice cream doesn’t need special equipment or complicated steps. This no-churn method keeps the process approachable while delivering creamy texture, bold chocolate flavor, and satisfying crunch every time.
If you give it a try, leave a rating and share how it turned out in the comments. For more confident, chef-led recipes designed to work in real home kitchens, follow @CemBerkoz and join the Recipe Destination community.
Happy cooking!