
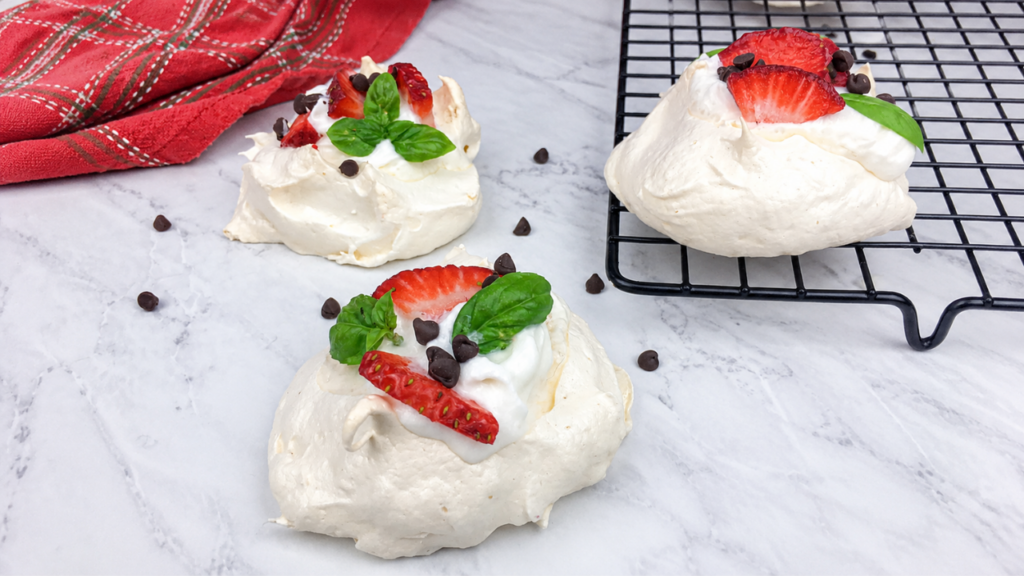
Mini pavlovas with fresh berries are crisp, delicate meringue shells with soft, marshmallow-like centers, topped with whipped cream and fresh fruit. They look elegant on the plate, but the method is built on a few clear techniques: cleanly whipped egg whites, gradual sugar incorporation, gentle baking, and careful timing when adding the toppings.
The appeal comes from contrast. The outside is light and crisp, the center stays tender, the cream adds richness, and the berries bring freshness and acidity. Because each pavlova is individually portioned, they work especially well for brunch, spring gatherings, holidays, showers, dinner parties, or any occasion where you want a dessert that feels polished without being heavy.
For the best texture, bake and cool the meringue shells before topping. Add the whipped cream and berries shortly before serving so the shells keep their crisp exteriors rather than softening too soon.
Ingredients Overview
Mini pavlovas use a short ingredient list, but each item affects the final texture and flavor profile. The meringue needs stability, the toppings add contrast, and the berries bring freshness. For details on quantities, refer to the WP Recipe Maker card, which lists all necessary ingredients and measurements. Next, let’s review the individual components.
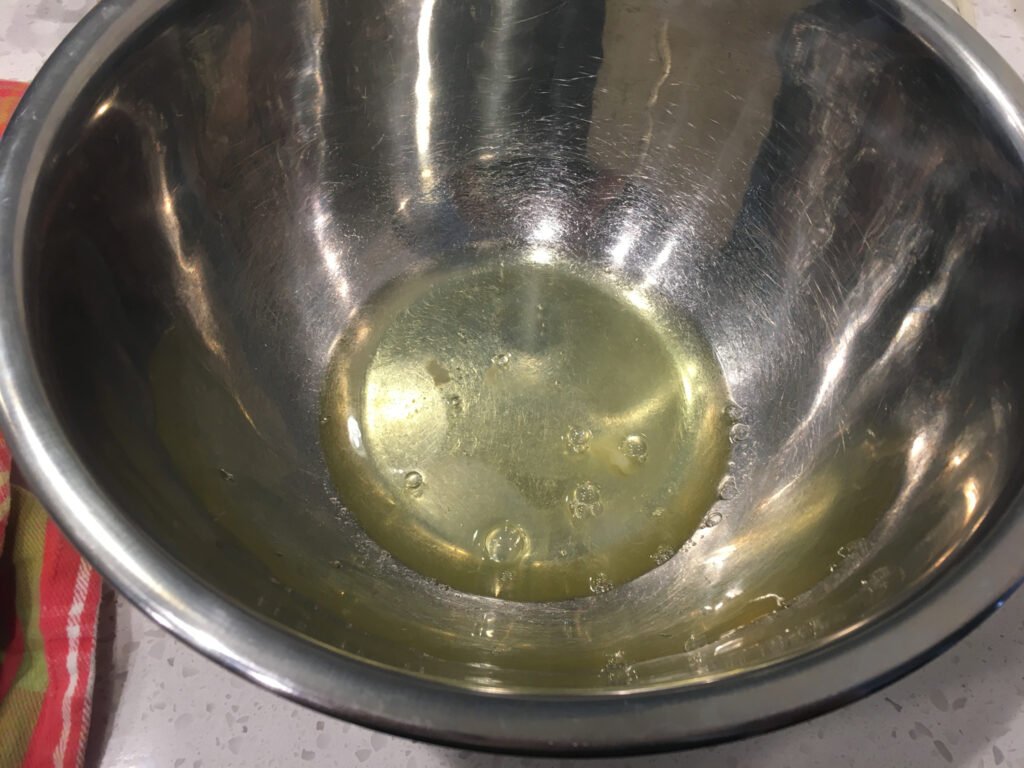
- Egg Whites form the base of the meringue. Separate the eggs while they are cold, then let the whites come closer to room temperature before whipping. Make sure no yolk gets into the whites, because fat can prevent the meringue from building properly.
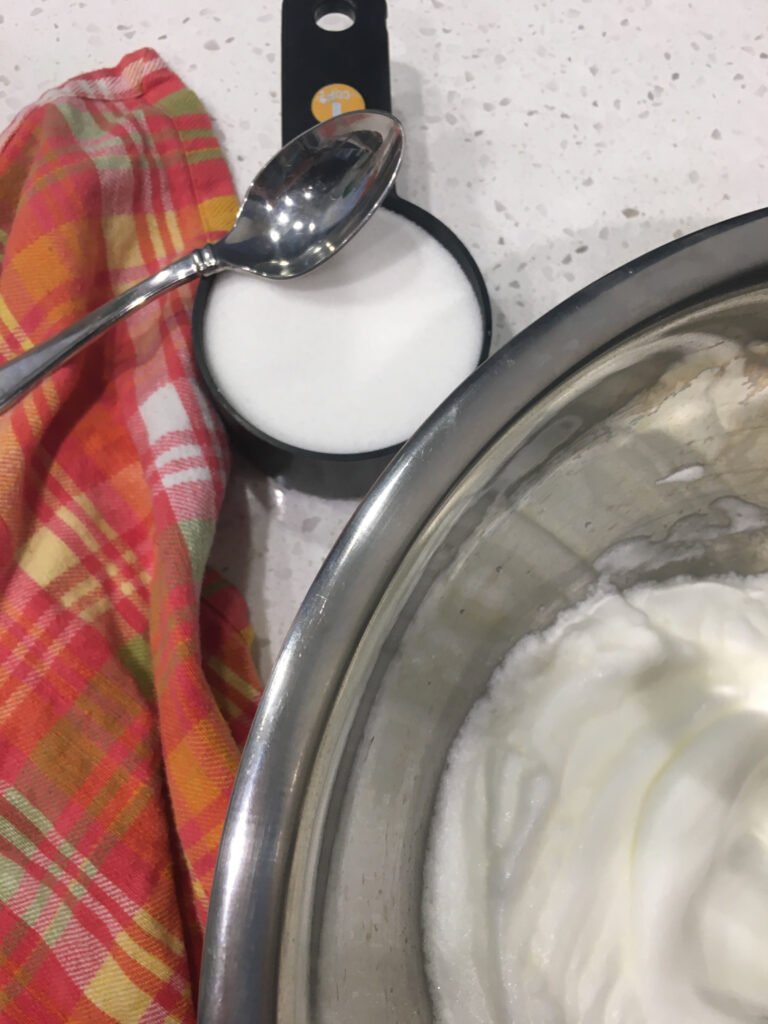
- White Sugar sweetens the meringue and helps create a glossy, stable structure. Add it gradually so it dissolves into the egg whites instead of leaving the mixture grainy.
- Cream of tartar helps stabilize the whipped egg whites. It supports the meringue, allowing it to retain volume and shape during baking.
- Cornstarch helps create the soft, marshmallow-like center that makes pavlova different from a dry meringue cookie.
- Whipped cream adds richness and softness against the crisp meringue. Add it shortly before serving so the shell does not soften too early.
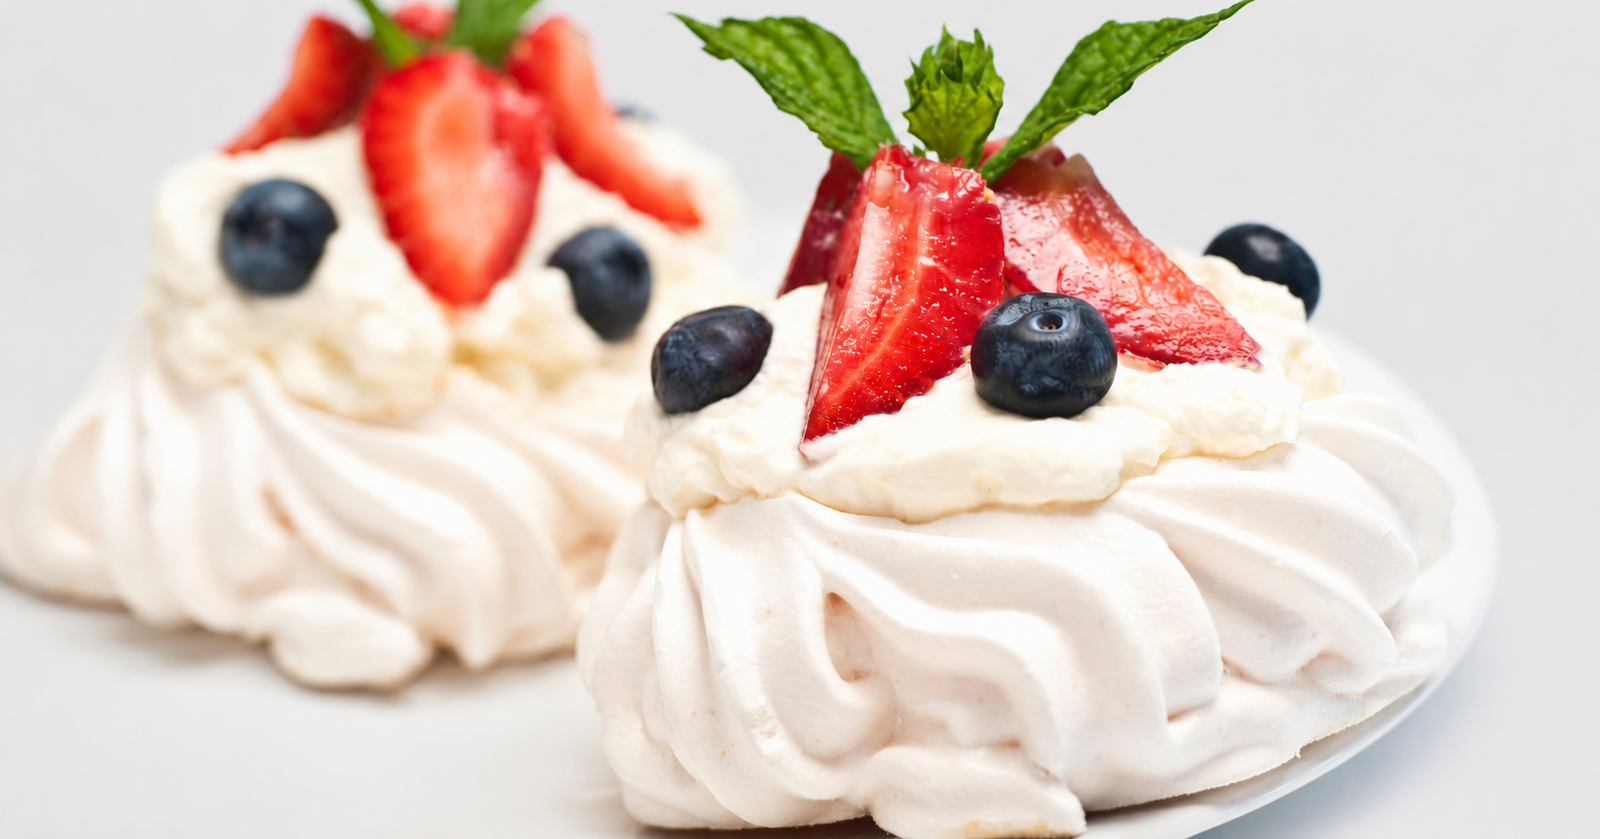
- Fresh Berries bring color, acidity, and freshness. Strawberries, raspberries, blackberries, and blueberries all work well.
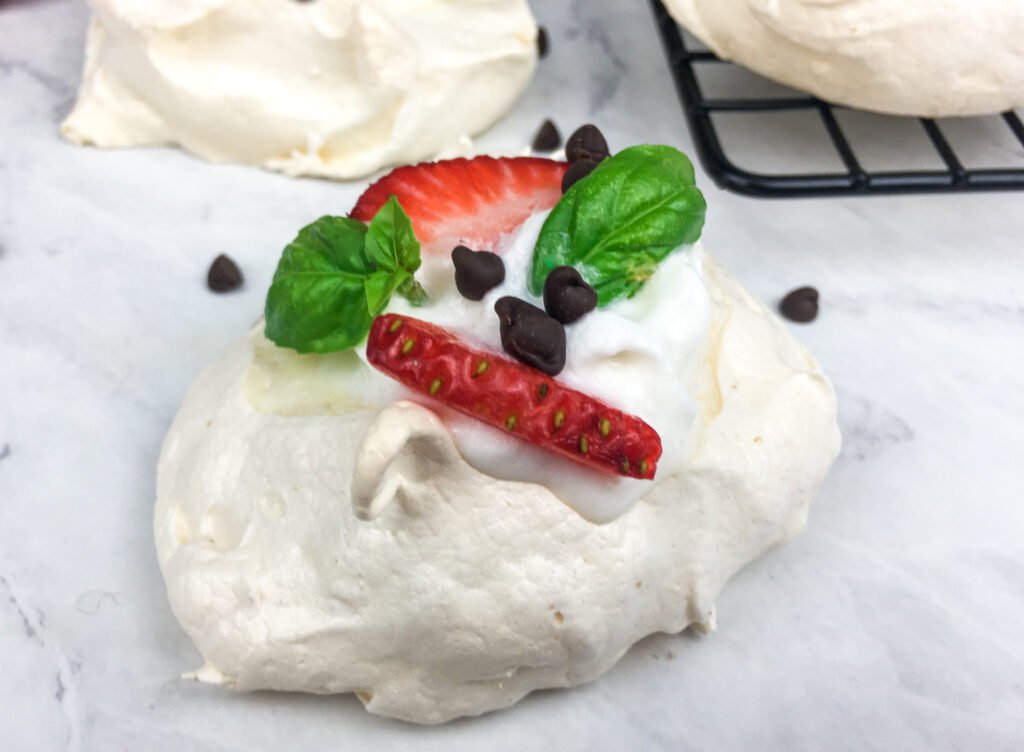
- Mini chocolate chips are optional. They add a little sweetness and texture, but they should be used lightly so the berries remain the focus.
- Fresh Mint or Basil is optional, but it adds color and a fresh touch. Mint gives a classic finish, while basil works especially well with strawberries.
Tools You Will Need
Mini pavlovas don’t require many tools, but with the right setup, meringue becomes easier to whip, shape, and bake evenly. Before you start mixing, have everything ready, as meringue is best shaped soon after it reaches the right texture.


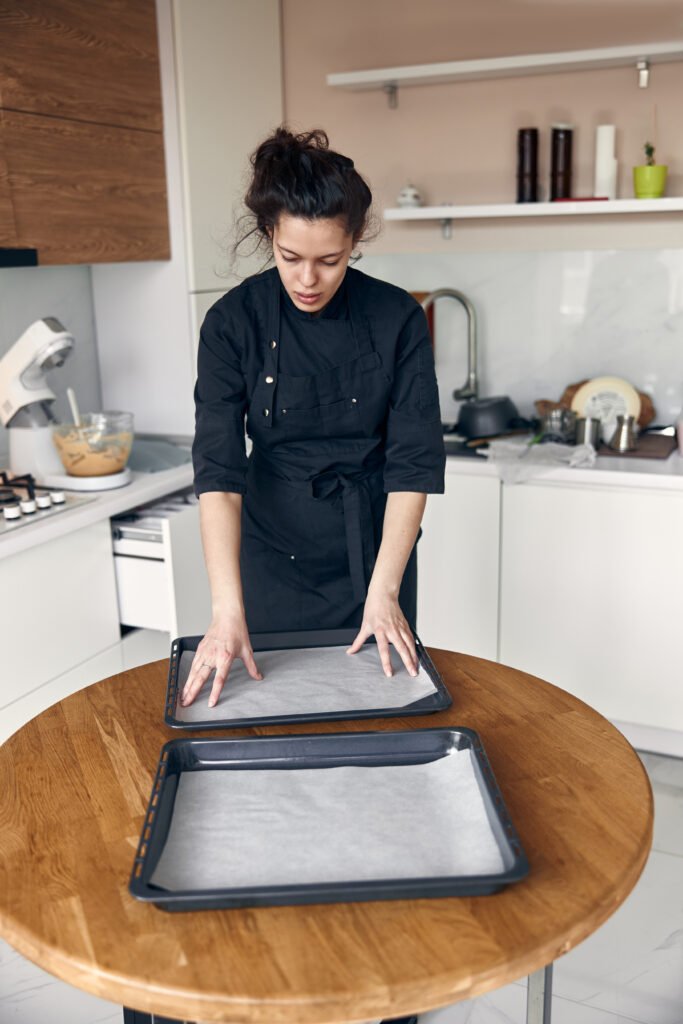
- Baking Sheets: Use two large baking sheets so the pavlovas have enough space to bake evenly. Rimmed baking sheets are helpful because they are easier to move in and out of the oven.
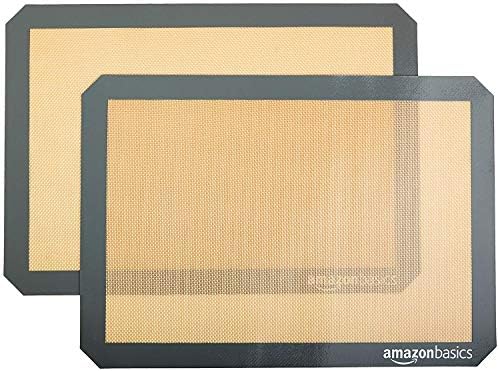
- Parchment Paper or Silicone Baking Mats: Line the baking sheets with parchment paper or a silicone baking mat to prevent sticking. Pavlova shells are delicate after baking, so a nonstick surface makes them easier to remove cleanly.
- Stand Mixer or Hand Mixer: A mixer is important for increasing the volume of the egg whites. A stand mixer is the easiest option, but a hand mixer also works well.
- Clean Mixing Bowl: Use a clean, dry mixing bowl with no grease or residue. Egg whites need a clean surface to whip properly and hold structure.
- Spoon: Use a spoon to portion the meringue onto the baking sheets and shape a shallow indent in the center of each pavlova for the toppings.
- Piping Bag: A piping bag (Optional) can help create a more even, polished shape. A spoon works well for a more natural, rustic look.
- Measuring Cups and Spoons: Accurate measuring matters for meringue. Measuring cups and spoons help maintain a consistent balance between egg whites, sugar, and stabilizers, while the exact ingredient amounts remain on the WP Recipe Maker card. With the tools ready and the prep complete, you can move into the step-by-step method.
Step-by-Step Instructions
The method for mini pavlovas is mostly about control. Build a stable meringue, shape it while it is glossy and firm, then bake it gently so the shells dry on the outside while staying soft in the center. Here is a step-by-step overview for reliable results every time.
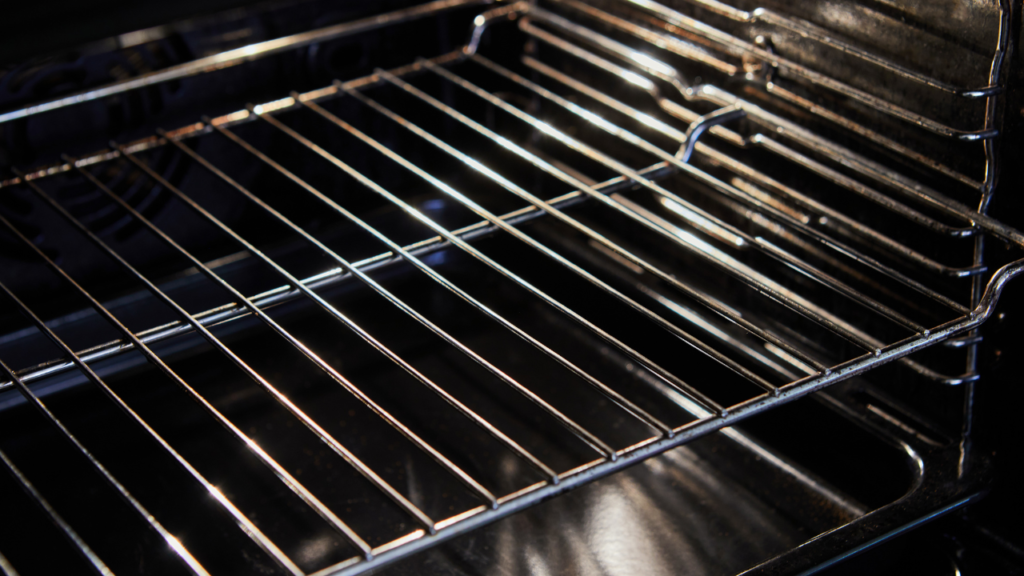
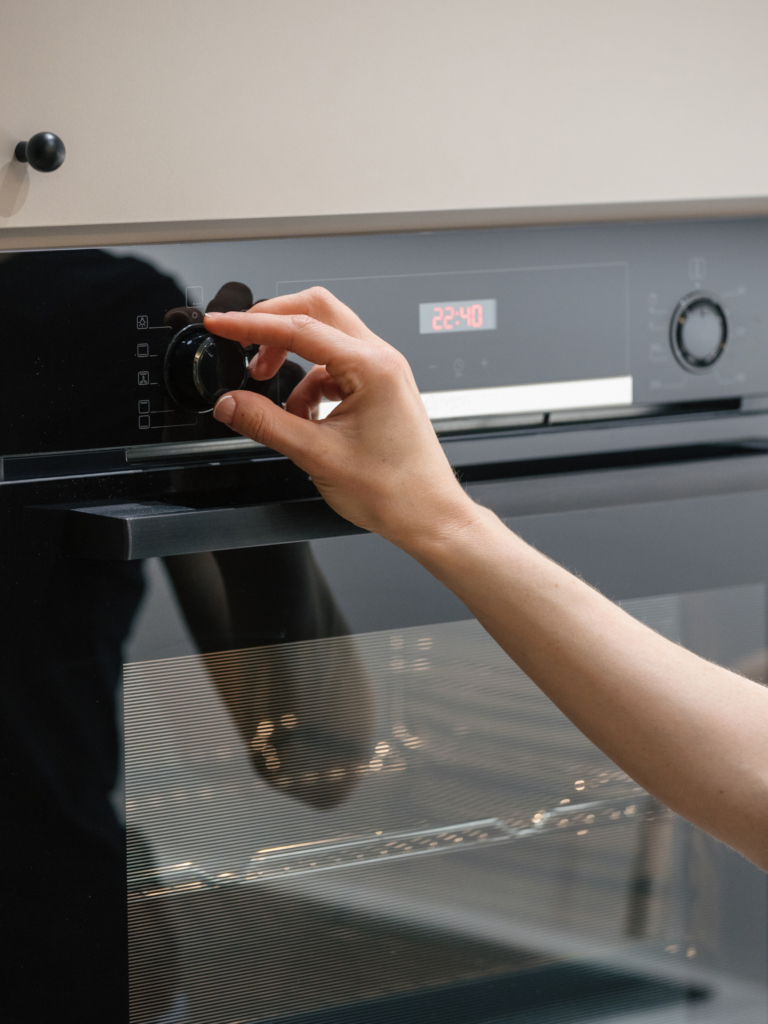
1. Arrange the oven racks toward the center of the oven, spaced evenly apart. Preheat the oven to 300°F. Line two large rimmed baking sheets with parchment paper or silicone baking mats and set aside.
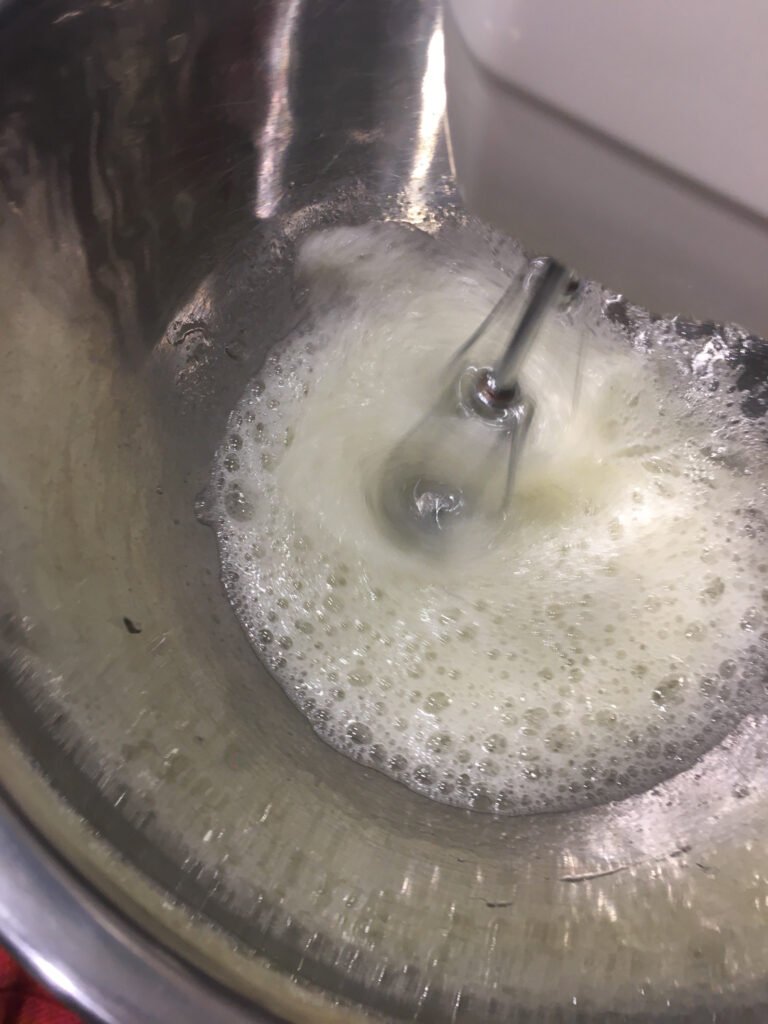
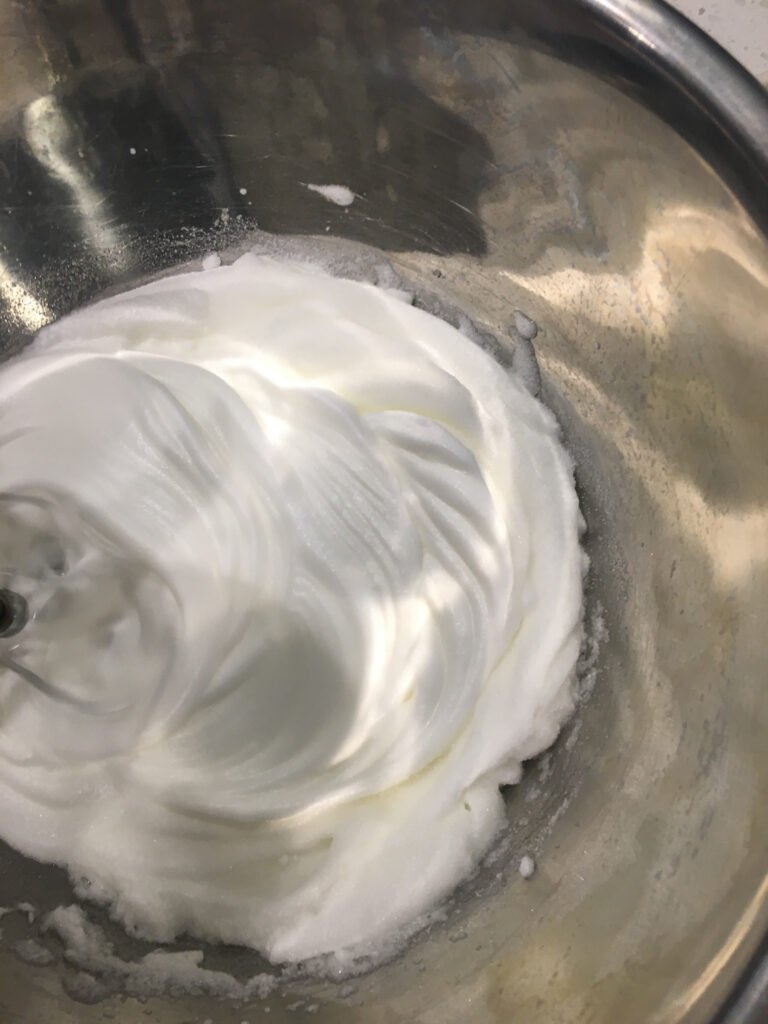
2. Using a stand mixer or hand mixer, beat the egg whites until they thicken and turn white.
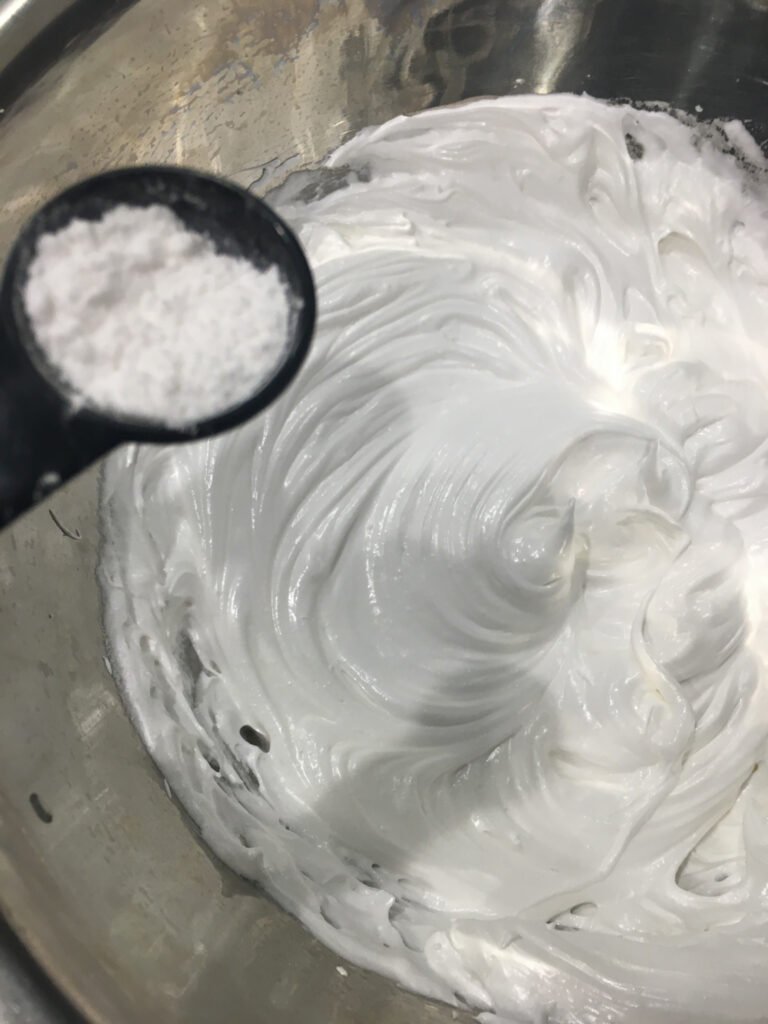
3. With the mixer running, slowly add the sugar, one or two tablespoons at a time, allowing each addition to fully incorporate before adding more.
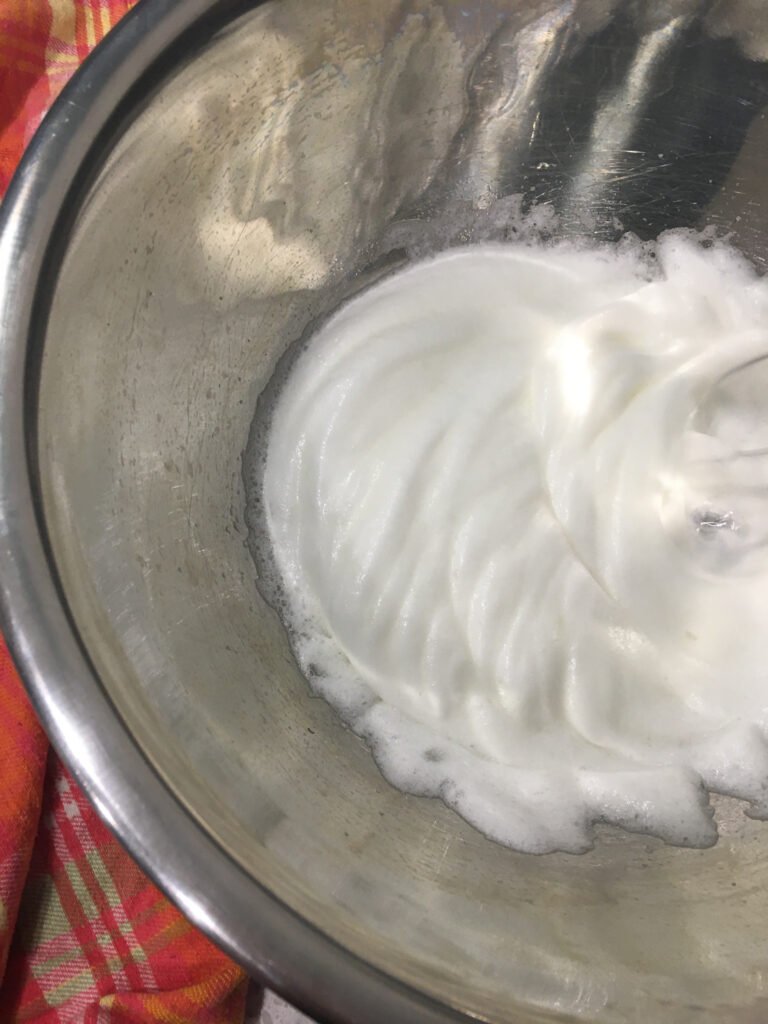
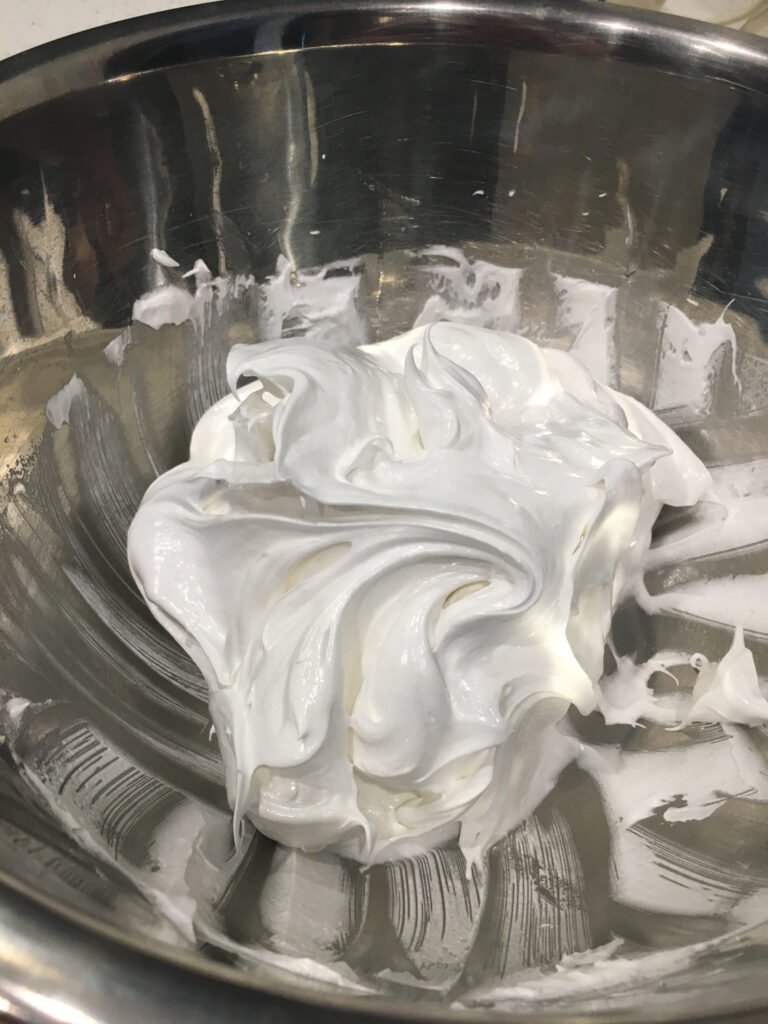
4. Add the cream of tartar and cornstarch. Continue beating until the meringue is stiff, glossy, and holds its shape.
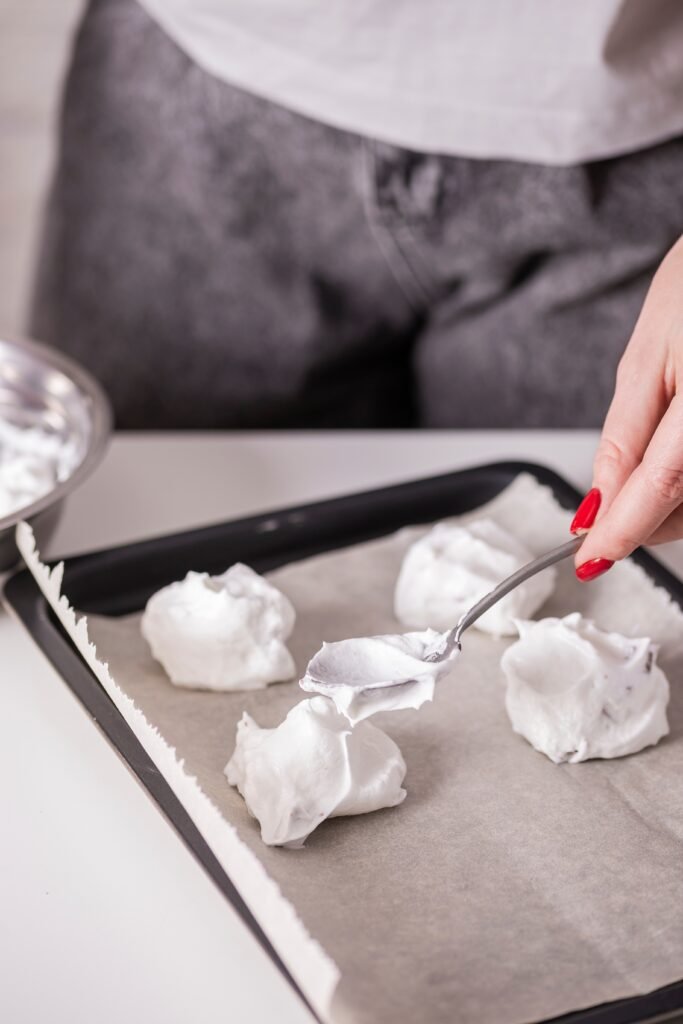
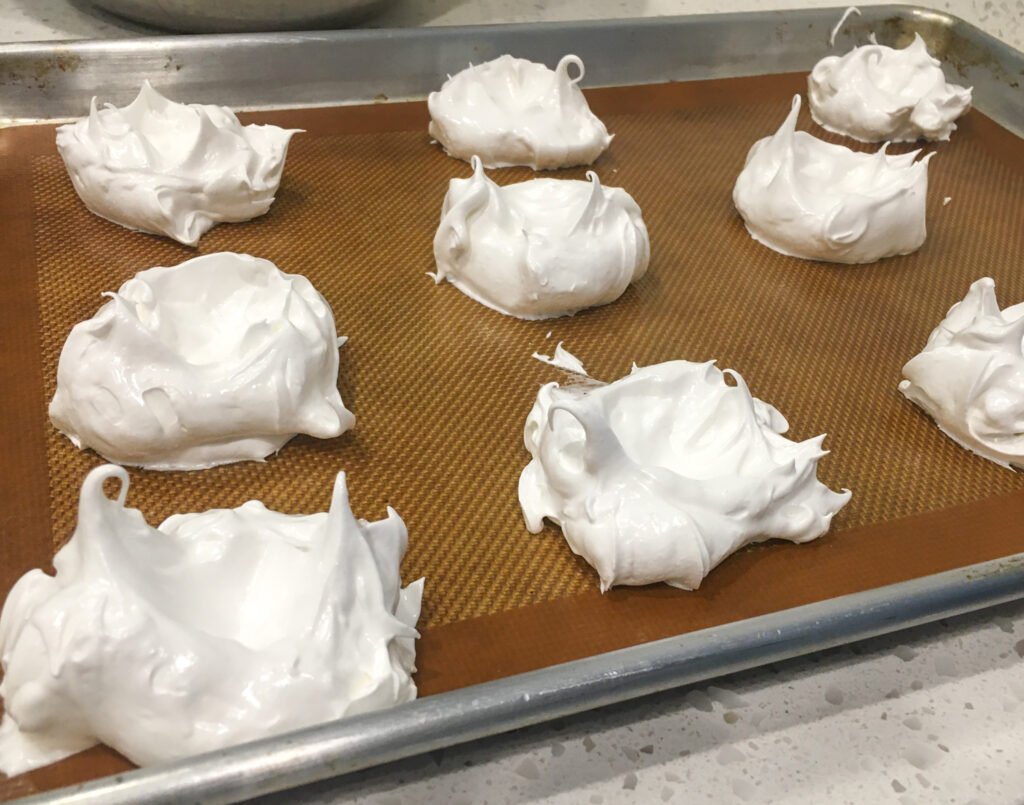
5. Spoon the meringue onto the prepared baking sheets in equal-sized portions. Use the back of a spoon to create a shallow indent in the center of each pavlova for the toppings.
6. Place the baking sheets in the preheated oven and bake for 10 minutes. Reduce the oven temperature to 225°F and continue baking for 45 minutes. Turn off the oven and let the pavlovas rest inside for 1 hour without opening the oven door.
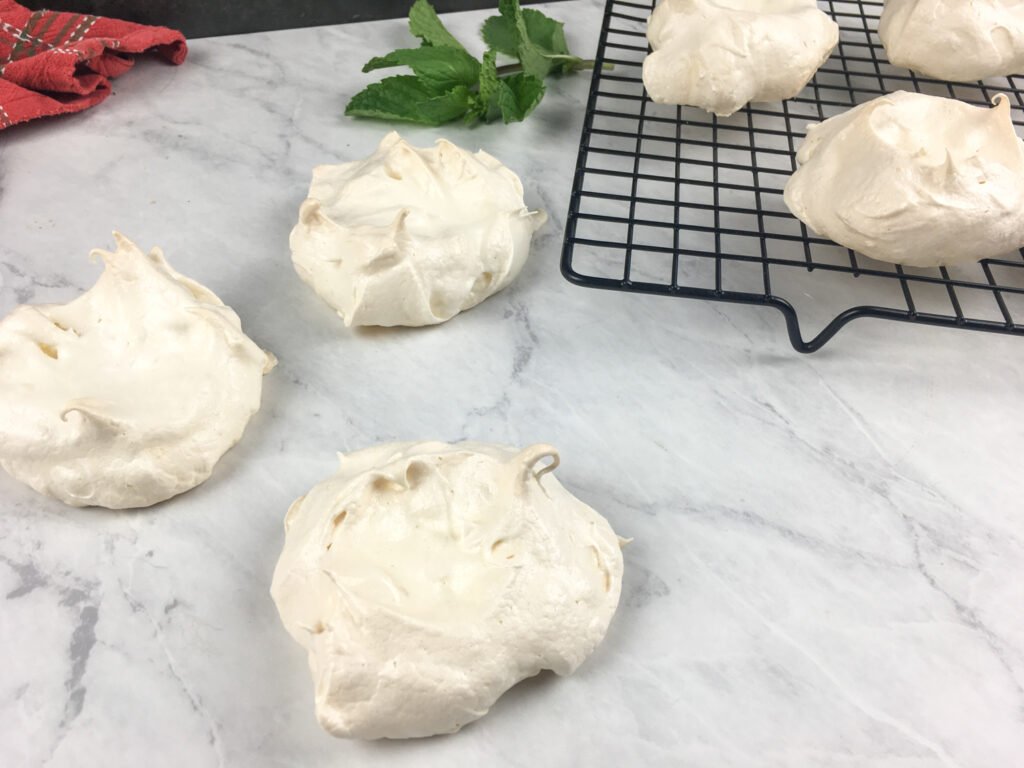
7. After one hour, remove the pavlovas from the oven.
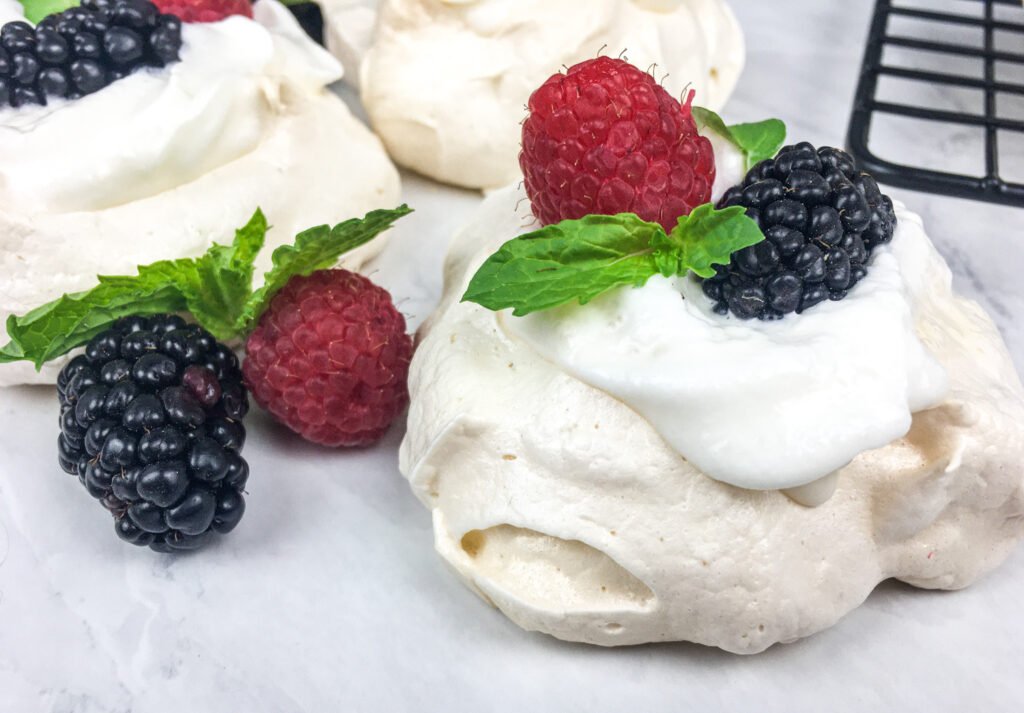
8. Top with whipped cream, fresh berries, mini chocolate chips, and fresh herbs, if using. Serve immediately after topping.

Tips for Best Results
Mini pavlovas are simple, but they depend on clean technique. Egg temperature, gradual sugar addition, careful cooling, and moisture control all affect the final texture. These details help the meringue stay stable, bake evenly, and hold its crisp shell.
- Start with Clean Equipment: Use a clean, dry mixing bowl and clean beaters. Any grease, residue, or egg yolk can prevent the whites from whipping properly. If needed, wipe the bowl and beaters with a little white vinegar, then dry them thoroughly before mixing.
- Separate the Eggs While Cold: Cold eggs are easier to separate cleanly because the yolks are firmer and less likely to break. After separating, let the whites come closer to room temperature before whipping. This helps them build better volume.
- Add the Sugar Slowly: Add the sugar gradually while the mixer is running. This gives the sugar time to dissolve into the egg whites, helping the meringue become smooth, glossy, and stable. If the sugar goes in too quickly, the meringue can turn grainy or release moisture later.
- Whip Until Stiff and Glossy: The meringue should look thick, smooth, and shiny. It should hold its shape when lifted with a spoon or beater. If it looks loose or soft, keep mixing until the structure is firm enough to shape.
- Watch the Humidity: Meringue is sensitive to moisture in the air. On very humid or rainy days, the shells may remain tacky or soften more quickly after baking. If possible, bake pavlovas on a drier day or keep the kitchen as dry as you can.
- Shape the Pavlovas Evenly: Keep the pavlovas close in size so they bake at the same rate. Make a shallow indent in the center of each one for the toppings, but avoid spreading the meringue too thin. Thin centers can dry out too much during baking.
- Let Them Cool Slowly: Do not rush the cooling stage. Let the pavlovas rest in the turned-off oven as directed, and avoid opening the door during that time. Gradual cooling helps protect the delicate shells from sudden cracking or collapsing.
- Add Toppings Right Before Serving: Whipped cream and berries should go on just before serving. Once topped, the crisp shell will begin to soften. For the best texture, keep the shells, cream, and fruit separate until you are ready to assemble.
Ingredient Swaps and Variations
Mini pavlovas are flexible once the meringue base is handled correctly. Keep the shell technique the same, then adjust the toppings to change the flavor, color, or presentation.
- Berry Options: Strawberries, raspberries, blackberries, and blueberries all work well. Choose berries that are ripe but not overly soft or wet. If the berries seem damp, pat them dry before adding them to the pavlovas so extra moisture does not soften the meringue too quickly.
- Other Fruit Options: Kiwi, mango, or passion fruit can work well if you want a brighter, more tropical direction. Avoid very watery fruit or use it sparingly, as excess juice will soften the meringue shell more quickly.
- Cream Variations: Lightly sweetened whipped cream is the classic choice. You can add vanilla for a softer dessert flavor or a small amount of lemon zest for brightness. Coconut whipped cream can also work for a dairy-free version, though the flavor and texture will be slightly different.
- Chocolate Options: Mini chocolate chips add sweetness and texture, while shaved chocolate gives a more delicate finish. Use chocolate sparingly so the fruit and meringue remain the focus.
- Lemon Curd Option: A small spoonful of lemon curd can add bright acidity and contrast the sweetness of the meringue. Use it lightly and keep it inside the center well so it does not run over the shell too early.
- Herb Garnishes: Mint adds a clean, fresh finish. Basil gives a slightly more aromatic note and pairs especially well with strawberries. Add herbs right before serving so they stay fresh and bright.
- Citrus Finish: A little lemon, lime, or orange zest can brighten the finished pavlovas. Add the zest over the assembled dessert rather than into the meringue, and keep it light so the citrus supports the berries.
- What Not to Change: Do not replace the egg whites with whole eggs, and do not add wet ingredients to the meringue base. Keep heavy toppings to a minimum, as delicate pavlova shells can crack or soften quickly.
Serving and Make Ahead Tips
Mini pavlovas are best when the shells stay crisp, and the toppings stay fresh. The easiest way to manage that is to bake the meringue shells ahead of time, then assemble them shortly before serving.
| Meringue shells | Bake ahead | Store untopped shells in an airtight container in a dry place. Avoid refrigeration if possible, because moisture can soften the shells. |
| Whipped cream | Prepare shortly ahead | Keep chilled until assembly. Add it to the shells only when you are close to serving. |
| Fresh berries | Prepare ahead if needed | Wash, dry, and slice berries ahead of time, but keep them separate from the shells until serving. |
| Final assembly | Just before serving | Spoon or pipe whipped cream into the center indent, then add berries and any finishing garnish. |
| Fully topped pavlovas | Serve right away | Once topped, the shells will gradually soften from the cream and fruit. |
| Leftovers | Refrigerate if already topped | They can still taste good, but the texture will be softer and the shells will not return to their original crispness. |
Serving Notes
Serve mini pavlovas as individual desserts for brunch, holidays, showers, dinner parties, or spring and summer gatherings. Keep the toppings balanced so the shells do not become too heavy, and finish with mini chocolate chips, mint, basil, citrus zest, or a small amount of lemon curd if using.
FAQs
Mini pavlovas are simple once you understand the meringue cues, but a few small details can affect the final texture. These questions cover the most common issues with whipping, baking, storing, and serving the shells so they stay crisp, light, and easy to finish.
Why did my meringue weep or become sticky?
Meringue can weep when the sugar has not fully dissolved or when there is too much moisture in the air. Add the sugar slowly, continue beating until the mixture feels mostly smooth between your fingers, and try to bake on a dry day when possible.
Why did my pavlovas crack?
Some cracking is normal because pavlova shells are delicate. Sudden temperature changes can make cracking worse, so let the pavlovas rest in the turned-off oven without opening the door, allowing them to cool gradually.
Why is my meringue grainy?
Grainy meringue usually means the sugar did not fully dissolve. Add the sugar slowly while the mixer is running, and give each addition time to blend into the egg whites before adding more.
My egg whites would not whip properly. What went wrong?
The most common cause is contamination with fat. Grease on the bowl or beaters, or even a small amount of yolk in the whites, can prevent the foam from building. Start with clean, dry equipment and separate the eggs carefully.
Can I make mini pavlovas ahead of time?
Yes, the shells can be baked ahead. Keep them untopped until close to serving, and store them in a dry, airtight container so they stay crisp.
Can I refrigerate pavlovas after topping them?
Topped pavlovas can be refrigerated briefly, but the texture will soften. Whipped cream and berries add moisture to the shell, so the best texture comes from assembling the pavlovas shortly before serving.
Can I use a piping bag instead of a spoon?
Yes. A piping bag gives the pavlovas a more even, polished shape, while a spoon gives them a more rustic look. Either method works as long as the meringue is stiff, glossy, and shaped soon after mixing.
Final Thoughts
Mini pavlovas are a good reminder that an elegant dessert does not need to be complicated. Once the meringue is whipped until stiff and glossy, shaped with a shallow center, and cooled gently, the rest is simple assembly.
Keep the shells crisp by adding the whipped cream and berries shortly before serving. That timing gives you the best contrast between the delicate meringue, soft cream, and fresh fruit.
If you make these mini pavlovas, leave a comment and rate the recipe. For clearer, technique-led recipes and cooking guidance, join the newsletter and follow @BerkozCem.
Mini-Pavlovas with Fresh Berries
Ingredients
Equipment
Method
- Arrange the oven racks toward the center of the oven, spaced evenly apart. Preheat the oven to 300°F. Line two large rimmed baking sheets with parchment paper or silicone baking mats and set aside.
- Using a stand mixer or hand mixer, beat the egg whites until they thicken and turn white.
- With the mixer running, slowly add the sugar, one or two tablespoons at a time, allowing each addition to fully incorporate before adding more.
- Add the cream of tartar and cornstarch. Continue beating until the meringue is stiff, glossy, and holds its shape.
- Spoon the meringue onto the prepared baking sheets in equal-sized portions. Use the back of a spoon to create a shallow indent in the center of each pavlova for the toppings.
- Place the baking sheets in the preheated oven and bake for 10 minutes.
- Reduce the oven temperature to 225°F and continue baking for 45 minutes.
- Turn off the oven and let the pavlovas rest inside for 1 hour without opening the oven door.
- Remove the pavlovas from the oven. Top with whipped cream, fresh berries, mini chocolate chips, and fresh herbs, if using.
- Serve immediately after topping.
Notes
- Pavlovas have a crisp exterior and a soft, marshmallow-like center. Handle the shells gently once baked.
- Add whipped cream and berries right before serving. The cream will soften the crisp shell if it sits too long.
- Untopped pavlova shells can be made ahead, but keep them dry and separate from the toppings until serving.
- Separate the eggs while they are still cold. Cold yolks are firmer and less likely to break into the whites.
- After separating the eggs, let the whites come to room temperature before beating so they whip to a higher volume.
- Reserve the egg yolks in the refrigerator for another use, if desired.